Supplied by Heaven Gifts for review purposes.
https://www.heavengifts.com/product/GeekVape-Zeus-X-Mesh-RTA.html
Current Sale Price: USD 34.99 (around £32.00)
Introduction
This review almost didn’t happen as it went on a world tour for three months! Fortunately it eventually found its way to me so I got stuck into the review straight away.
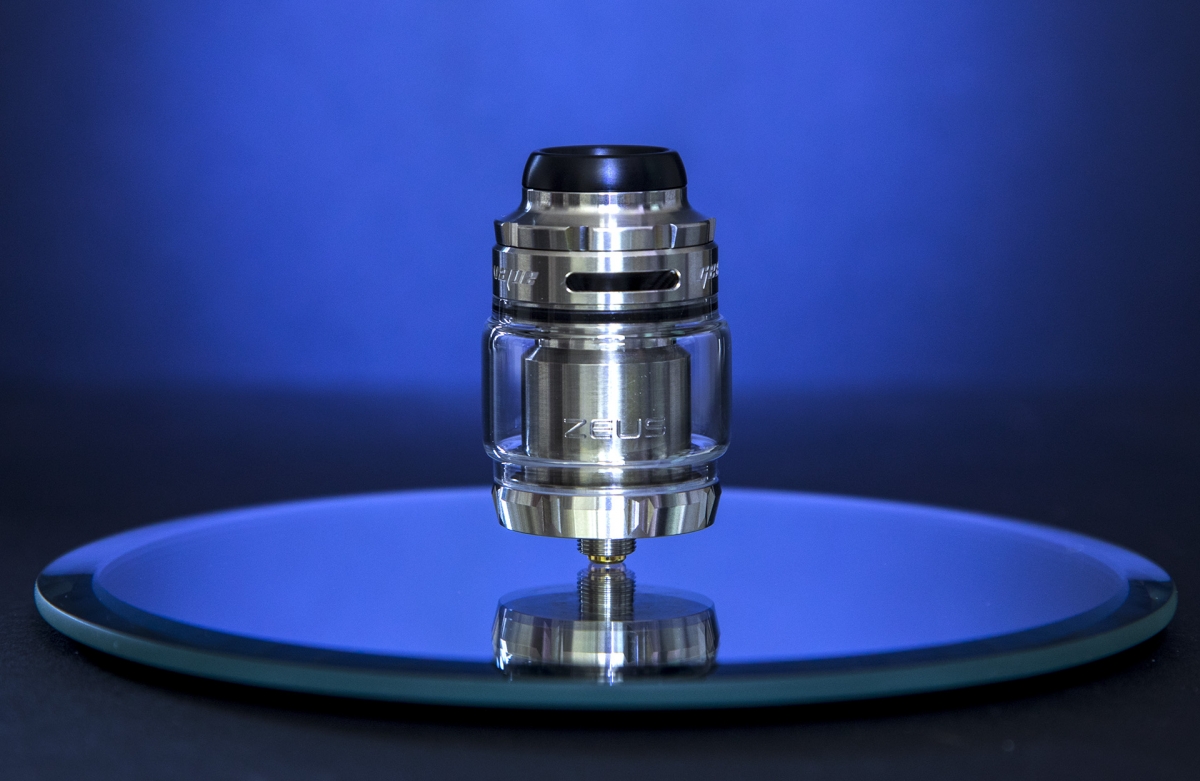
The Zeus X Mesh RTA is an updated mesh edition of the already popular Zeus X. The assembly is identical with the exception of the build deck which has been designed for mesh. I owned an original single coil Zeus RTA three years ago and loved it, especially the top airflow which prevented leaking which was very effective. The flavour back then stood out and was one of my favourites, times change and the evolution of mesh has brought on a few innovations, the Zeus X Mesh borrows from the earlier model regarding top airflow but the rest is all new and well engineered.
Basic info
- Size: 25mm x 47.8mm (including drip tip)
- Capacity: 4.5ml
- Type: Mesh Coil RTA
- Drip Tip: 510/810
- Thread: 510
- Top-to-side airflow eliminates leakage
- Postless mesh build deck for easy building
- Build deck switchable with GeekVape Zeus X RTA
- Simplified refill system for quick access
- Support 810 and 510 drip tip
Unboxing
My Zeus X Mesh was a sample box so the retail version might vary slightly but the contents are the same for the non-TPD version.
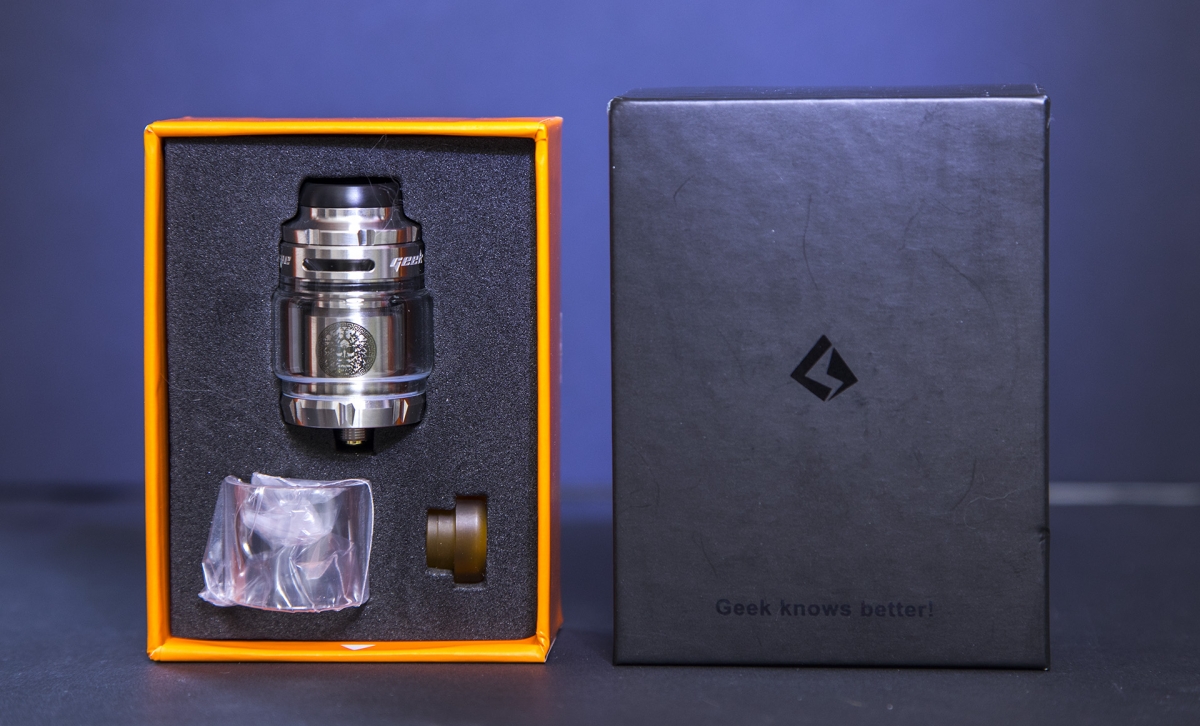
Mine was in a rather nice plain black outer with an orange inner, opening it up to the top layer reveals the Zeus X Mesh RTA, a spare urine coloured 810 drip tip and a spare alternative straight glass.
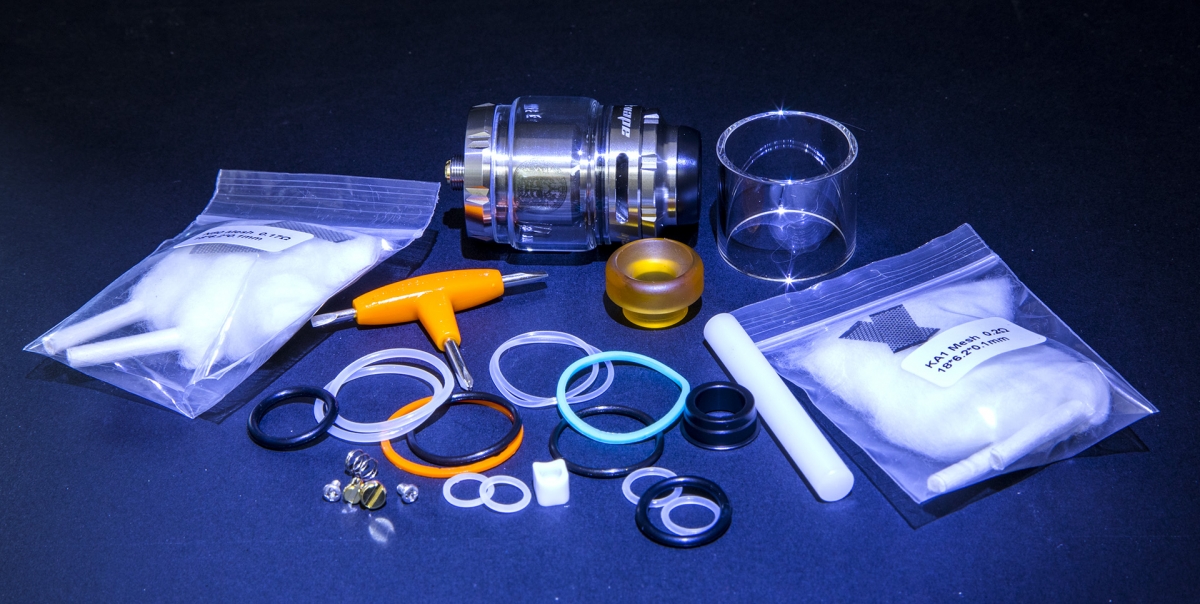
Underneath the top layer is a shed load of extras, Geekvape have always been generous with the extras and the Zeus X Mesh comes with EVERYTHING you need to build and some, enough for two builds, which is a huge pro. As you can see from the photo, there’s plenty of spare seals, screws and tools.
The spare 810 drip tip and the 510 adaptor is handy if you prefer to use your own 510 drip tip.
**NOTE**
The sample version came with alternative mesh and no documents, the rest should be the same.
Included in this treasure trove is:
- 1x GeekVape Zeus X Mesh RTA (4.5ml)
- 1x Spare Glass Tube (straight)
- 1x 810 drip tip
- 1x N80 mesh 0.17ohm coil
- 1x KA1 mesh 0.2ohm coil
- 1x Spare Parts (and LOTS of them)
- 1x Tri Tool
- 1x GV mesh shaping rod
- 2x Shoelace Cotton
- 1x User Manual
- 1x Warranty Card
You might find there are two of each mesh and cotton, at the least there’s enough for a couple of builds.
First impressions
Already very happy with the bundle Geekvape included, I turned my attention to stripping the tank down to examine the assembly and features.
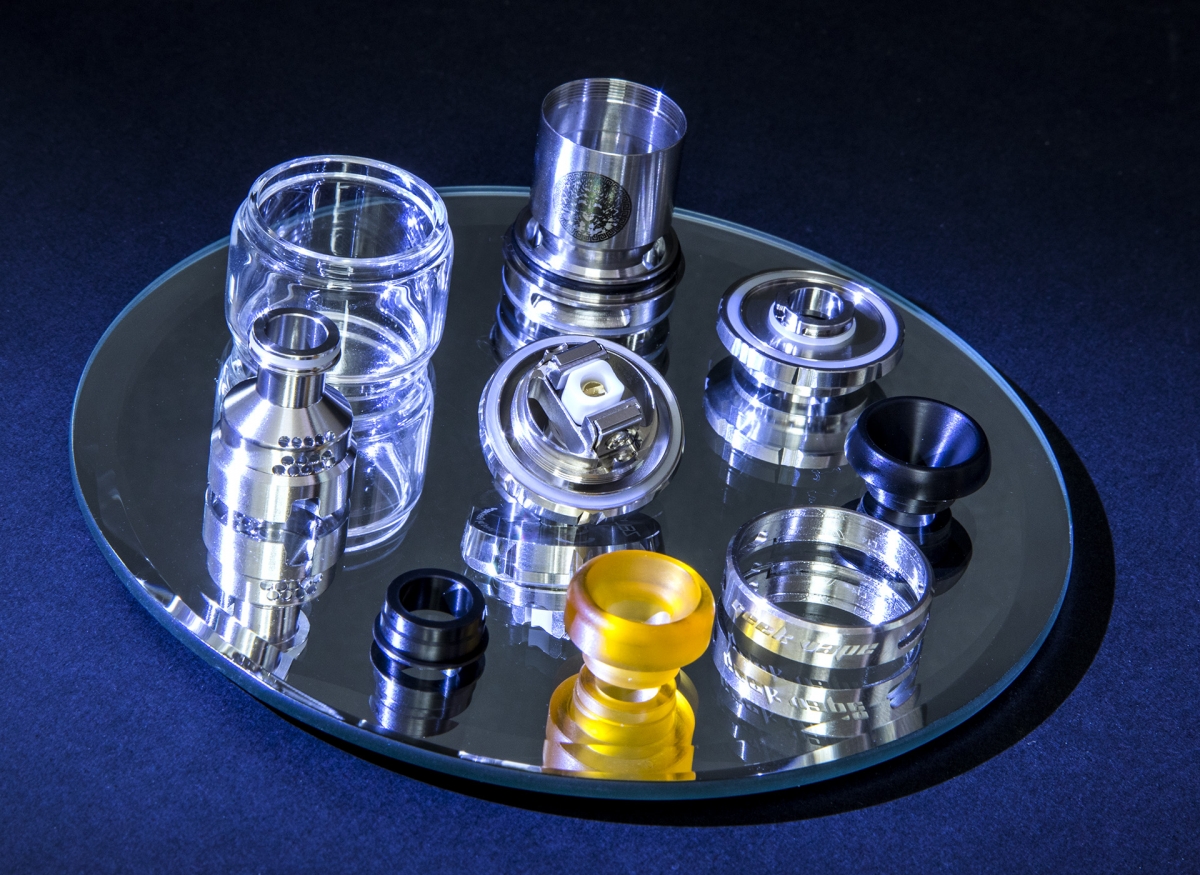
The Zeus X Mesh strips down easily into its components and makes it simple to clean and maintain. The chimney and airflow pieces are interesting to look at and you can see a lot of effort has gone into the airflow system. Everything was clean and well machined.
The Mesh build deck looked familiar, no surprise that it follows the now familiar clamp and the spring loaded centre block to keep the wick from sagging. To be fair I can’t see much room for innovation there as this system works well.
The only thing I could be picky with is the clamps aren’t spring loaded but in practice this doesn’t make much difference as building is very easy.

As mentioned earlier, everything you need to build is included, mesh, shoelace cotton, screwdriver tri-tool and a mesh bending rod. I was keen to get the photos done so I could build and road test this little beauty.
It seems the standard advice for mesh RTAs and RDAs is that they are for the more experienced user and for good reason. For anyone that has suffered a dry hit from a mesh atty, you will know it is one of the most painful experiences you can suffer from vaping, it’s like Zeus’s breath and you literally breath fire.
Fear not and bear with me, the Zeus X Mesh turns out to be a very beginner friendly RTA as long as you pay attention to some key points for mesh newbies:
- NEVER use a mesh strip that has a kink in it.
- Avoid touching the mesh while wicking to avoid kinking.
- Ensure you use a rod to pre-bend the mesh (gently wrap the mesh around the rod)
- Only dry burn at very low wattage, 15 watts is ample.
- Dry burn before wicking to see if there’s any hotspots or kinks (if so replace the mesh).
- Wicking needs to be tighter than a badgers chuff (don’t ask me how I know that!).
- Saturate your wick thoroughly, pulse at low watts while dripping, a new build will require a lot.
- Start low and ease up your wattage until you’re comfortable.
Don’t let that sound too daunting, they are just pointers to consider during building, they become second nature eventually.
So let's build this bad boy!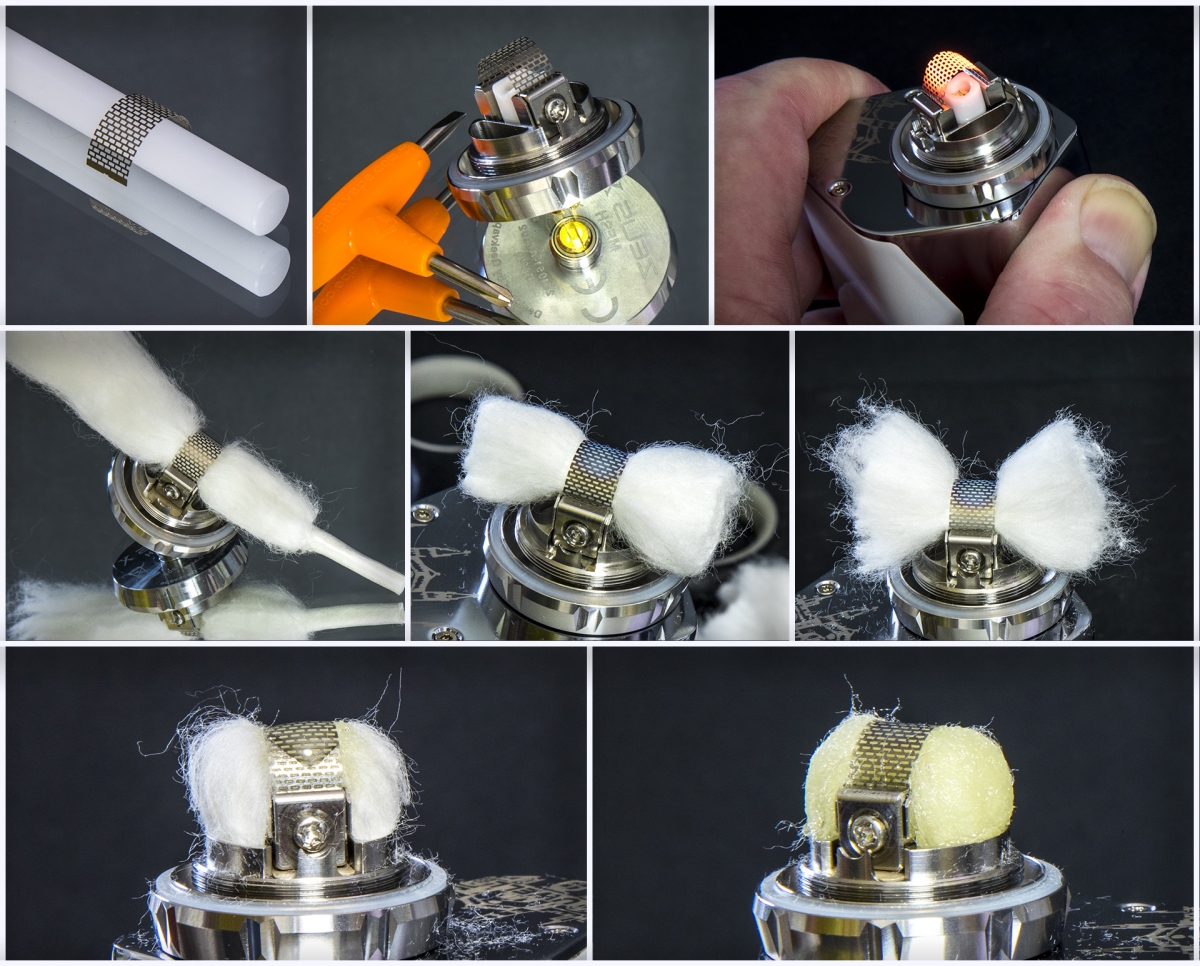
Following the above build photo from left to right – top to bottom:
- Carefully remove your mesh strip from the bag, make sure you don’t kink it. Using the white rod, gently wrap the mesh around it lengthways, no need to wrap it too tight, see photo.
- Using the Tri-Tool Philips screwdriver, loosen the two post screws in the clamp, one turn is ample. Carefully place your mesh strip in-between the two clamps so they sit all the way in and level. Tighten up the screws (avoid any pressure on the mesh from your fingers).
- Pop the base onto a regulated mod and set the wattage to around 15-20 watts, pulse the fire button until you see the mesh glow. IMPORTANT – if you see an uneven burn or a hot spot then something is wrong with your mesh, if unsure replace it with a new one.
*Turn your mod off before wicking)
- Wicking. I find it easier if you roll the cotton a little before pulling it through the mesh. The trick to pulling it through is to try and push it down on the spring loaded wick guide (the little plastic thingie) and pull it through. Make sure you avoid touching or bending the mesh, it will feel very tight but trust me it will pull through.
- Cutting the wick to length is simply using the base as a guide. Each end should be cut level to the base, not any shorter. The cotton is very thick and tough to cut, good quality scissors help.
- Thin out the cotton a little with tweezers, combing out the ends that got crushed with the scissors. It’s hard to quantify how much to thin it, at a push I would say 10-15% but if in doubt thin it a little and try the next step, if it’s too tight then thin it a little more, then fluff up the ends and trim any loose cotton.
- Tease the ends of the cotton into the juice ports using tweezers, it’s best to start at the bottom of the cotton guiding it backwards. Try not to force the cotton in too tightly, if it feels too tight then go back a step and thin it a little more. ALL of the cotton end should be inserted and now you need to cut off any from the top, it should look like the second to last image.
- Priming, squeeze a few drops onto your mesh, turn your mod back on and set the wattage to 15-20 watts, pulse the fire button and apply more and more eliquid onto your mesh. Don’t do the legs as they will saturate on their own once underneath the mesh is soaked. Keep pulsing and applying more eliquid until you see the whole wick is soaked.
I had a little fun after fluffing out the wick.

That’s all there is to it. Once you are used to building the Zeus X Mesh then it almost takes longer to read it than to actually do it. You’re now ready to assemble the tank back together. The base is the last part to assemble, once that is back on then fill the RTA up with your eliquid, and it's time to take it for a well earned vape!
Performance
So off I popped into the garden to see what all the fuss was about. I’ve not been overly impressed with DIY mesh, sure I liked the Damn Vape DOOM and the Wotofo Profile, but for me they weren’t as good as a decent stock coil for flavour, same with RDAs little flavour and thirsty as heck, so I wasn’t expecting too much from the Zeus X Mesh.
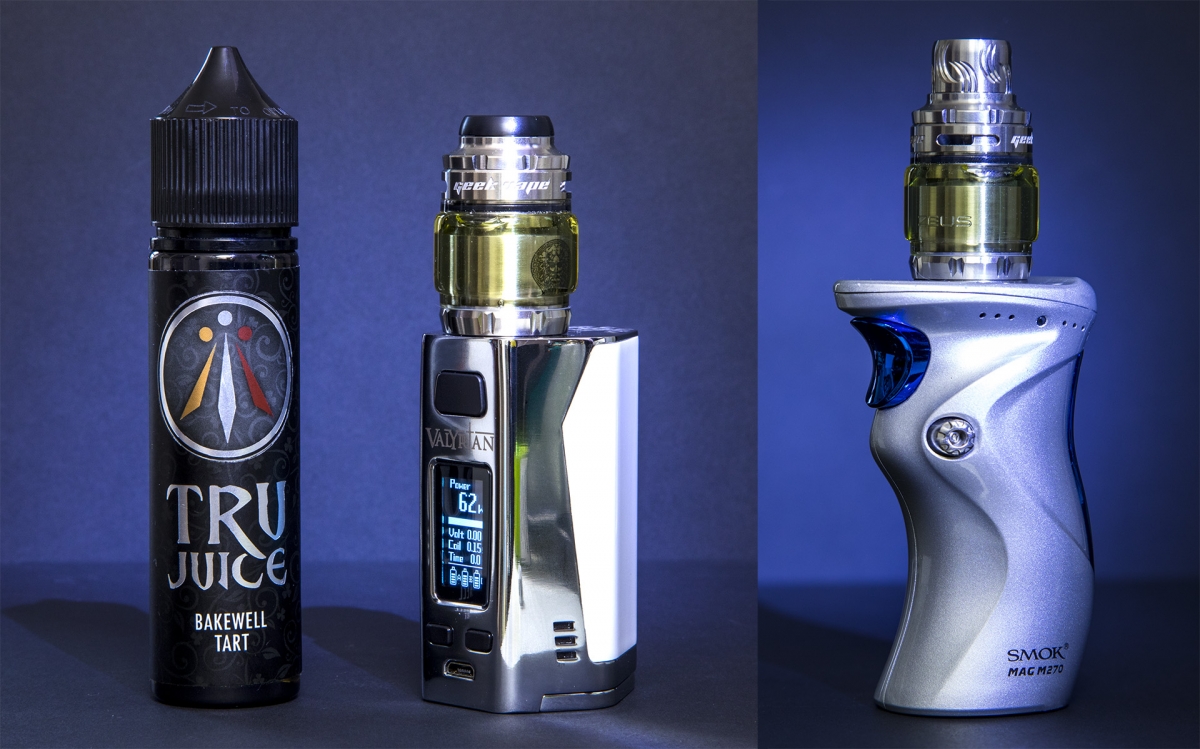
Starting off at 35 watts, I nervously upped my wattage (anyone who’s suffered a mesh dry hit will understand why), eventually finding the sweet spot around 60-65 watts. My first few hits were oversaturated which is normal for a fresh saturated build. After a few chuffs, you get a real sense of what the Zeus has to offer, turns out Zeus has been generous and offers the nectar of the gods!
The flavour is on another level to any mesh RTA/RDA I have tried. Better still, I get a great flavour with a warmer vape than others I’ve used, for some reason other mesh attys deliver a cooler vape, as you get warmer they hover dangerously close to dry hitting. This is not the case with the Zeus X Mesh.
The airflow is so good too. Fully open I still got that warm, flavourful vape I prefer, closing it off and dropping the wattage was also good but I soon found myself going back to fully open.
Now for my one and only con, that’s the low profile 810 drip tip. It looks good and keeps the height down, but for me it feels far too short, it feels like you’re sipping a beer rather than vaping, it just wasn’t for me. The included pee colour alternative was a little taller but still not quite what I preferred. There’s another option using the included 810 to 510 adaptor so you can use one of you own 510 wide bore drip-tips. I tried a few but found I preferred a larger one, Freemax Mesh Pro silver 810 drip-tip to the rescue!
So a little improvisation and I eliminated any cons, seriously I have no complaints at all!
Con(less)clusion
Now and then you get something exceptional that comes along and surprises you. The Zeus X Mesh certainly surprised me, it is just so damn good in pretty much every way. Building and wicking is far easier on this deck, I am always wary when building mesh but this felt far more forgiving. Follow the simple ‘rules’ for want of a better word, and you will be rewarded with an highly satisfying RTA.
So what have Geekvape done to make the Zeus X Mesh deliver stronger flavour and a warmer vape that other tanks haven’t managed?
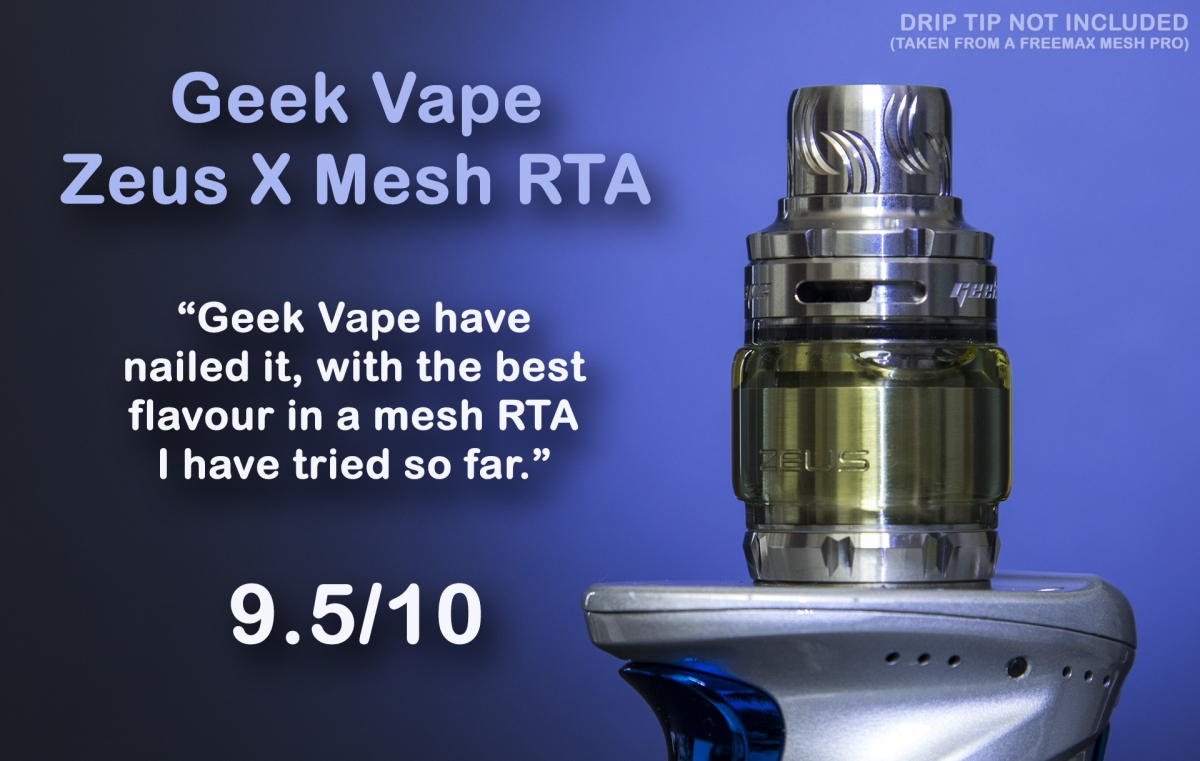
The only thing I can come up with is the airflow system. Top airflow is handy for leak resistance but it appears there’s more to it, examining the air path and the chimney section hides a lot of fine details that have to be the key? Whatever, all I know is that Geekvape have nailed it. With the best flavour in a mesh RTA I have tried so far, I just need an RDA as good now.
I’ve been going through a phase of using stock mesh coils recently as there’s been some superb new releases which have put me off a lot of my RTAs and RDAs, the Zeus has reminded me of the days when RTAs beat stock coils.

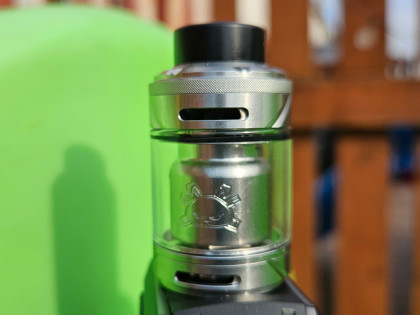
(So good I went all ‘arty-farty’ with the photos)
Pros
- Stock coil beating flavour
- Beginner friendly
- Leakproof top airflow
- Tons of extras
- Smooth and efficient airflow
- Includes almost everything you need to build
(I forgot about scissors earlier) - Great value for money
Cons
- Absolutely sweet
- FA
- nada
- zilch
- nowt
- nict
- zero……
I’m not going to include the drip-tip as a con, it’s my personal choice and the included ones work well enough.
Final Thoughts
It’s weird that I haven’t got a pro’s list as long as my arm for something I’ve rated this highly. In fact there’s little we haven’t seen before, but the difference is that Geekvape have refined everything into an RTA that simply delivers. It’s an RTA, it’s mesh tank, it’s freakin' great.
The end.
Score 9.5/10
Zero cons, superb flavour mesh RTA which comes close to a perfect 10
Thank you to Heaven Gifts for providing what turned out to be a real treat
https://www.heavengifts.com/product/GeekVape-Zeus-X-Mesh-RTA.html
Si Davies
Reviewer at POTVMy background is Engineering and Professional Photography. Mostly from POTV users knowledge I learned so much about pretty much all styles of vaping and equipment, Cloud Chasing, Squonking, Mouth To Lung, Direct To Lung, Pods, Mechs, Rebuild-able tanks and atomisers etc, and have experience with many many devices and atomisers, it's become a hobby and enjoy trying out the latest gear. I like to think my reviews are plain speaking and informative without getting too technical, if I have to resort to reading the manual then I don't consider it user friendly!
Join the discussion
Hellvape Fat Rabbit Solo 2 RTA
Hellvape are flying the flag for the rebuildable vapers with their latest addition, the Hellvape Fat Rabbit Solo 2 RTA
Hellvape Dead Rabbit MTL 2 RTA
Hellvape are still flying the flag for traditional rebuildable vapers, and Antony got his hands on the latest Dead Rabbit MTL 2 RTA
Hellvape Dead Rabbit 3 RTA 2024 Edition
Hellvape are flying the flag for rebuildable vape gear with the newly released Dead Rabbit 3 RTA 2024 Edition




-listing400.jpg)


