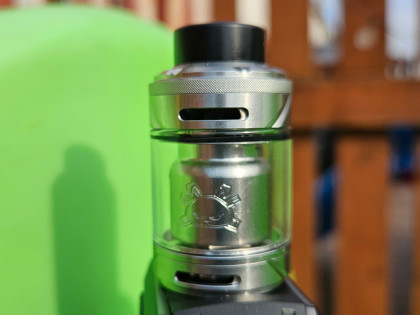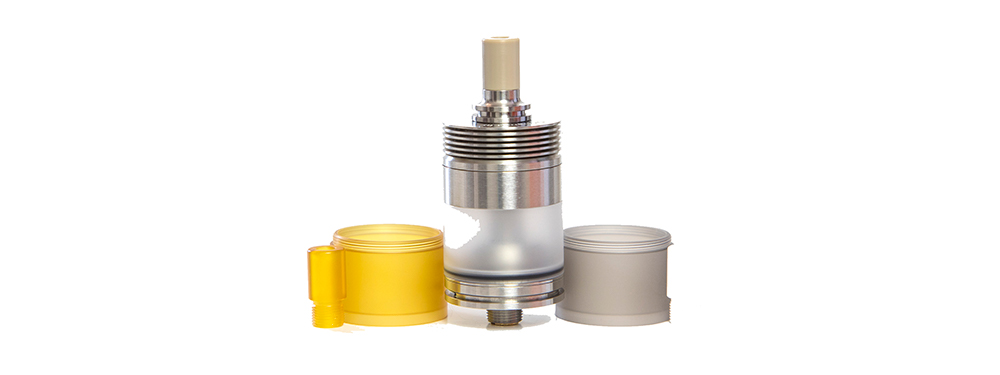
BP Mods Pioneer MTL/DL 22mm RTA REVIEW
Supplied by Dovpo for review purposes.
RRP = Roughly $50 pre-order – expected to be cheaper.

The Pioneer came as a nice surprise to review as I had no idea about its release and at the time of receiving it, there were none for sale and no specs, so I was left to explore it fully without any expectations.
- Material - Stainless Steel
- Capacity - 3.7ml
- Airflow - Adjustable Airflow
- Thread Type - 510
- Tank material - PC
- Weight - 40g (1.41oz)
- Diameter - 22mm (0.87 inch)
- Depth - 22mm (0.87 inch)
- Height - 48.3mm (1.9 inch)
- Width - 22mm (0.87 inch)
Package Contents - 1 x Pioneer RTA, 1 x Ultem Drip Tip, 1 x Clear Drip Tip, 1 x PCTG Tank Tube, 1 x Ultem Tank Tube, 1 x Accessories Pack, 1 x User Manual.
B P Mods/Dovpo Collaboration
I have heard of B P Mods before, but this is the first time I have had anything designed by them. DovPo are, of course, one of the big names in the vaping world and produce some superb stuff on their own. My initial thoughts were that to collaborate, then this should be interesting.
Unboxing
Upon receiving the Pioneer, I was really impressed with the presentation. The classy box and appealing layout has been done really well, but it’s the included contents that grab your attention. Straight away, you are presented with three configurations.
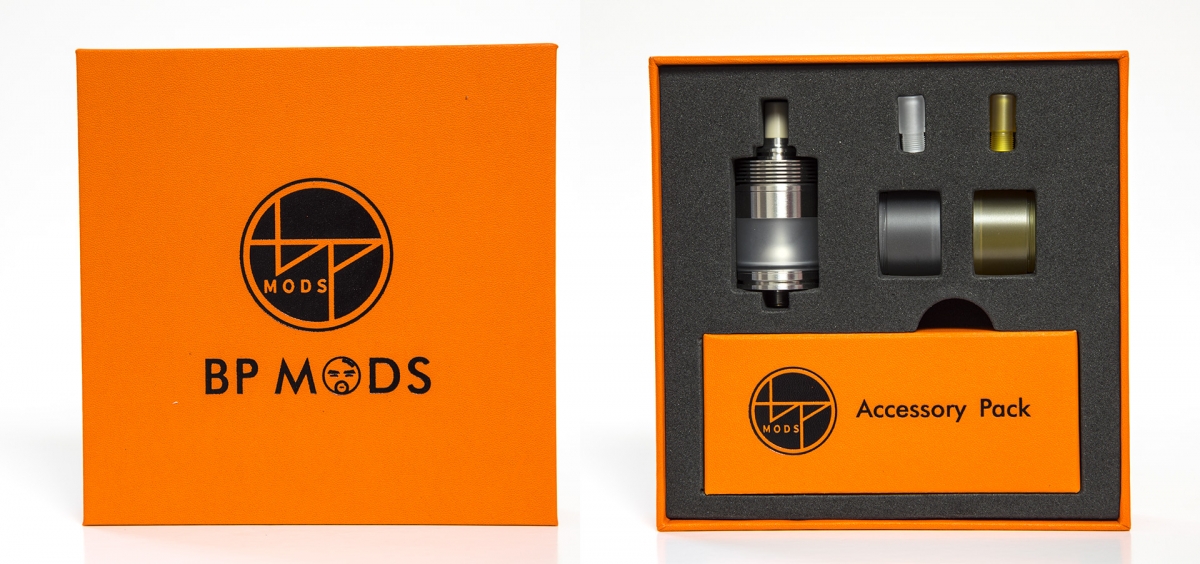
The accessory pack was a bit bare, just some spares, air-hole reducer pins and some coils in a small baggie. The box is oversized for the contents, I’m not sure what more I expected as everything you need was there.
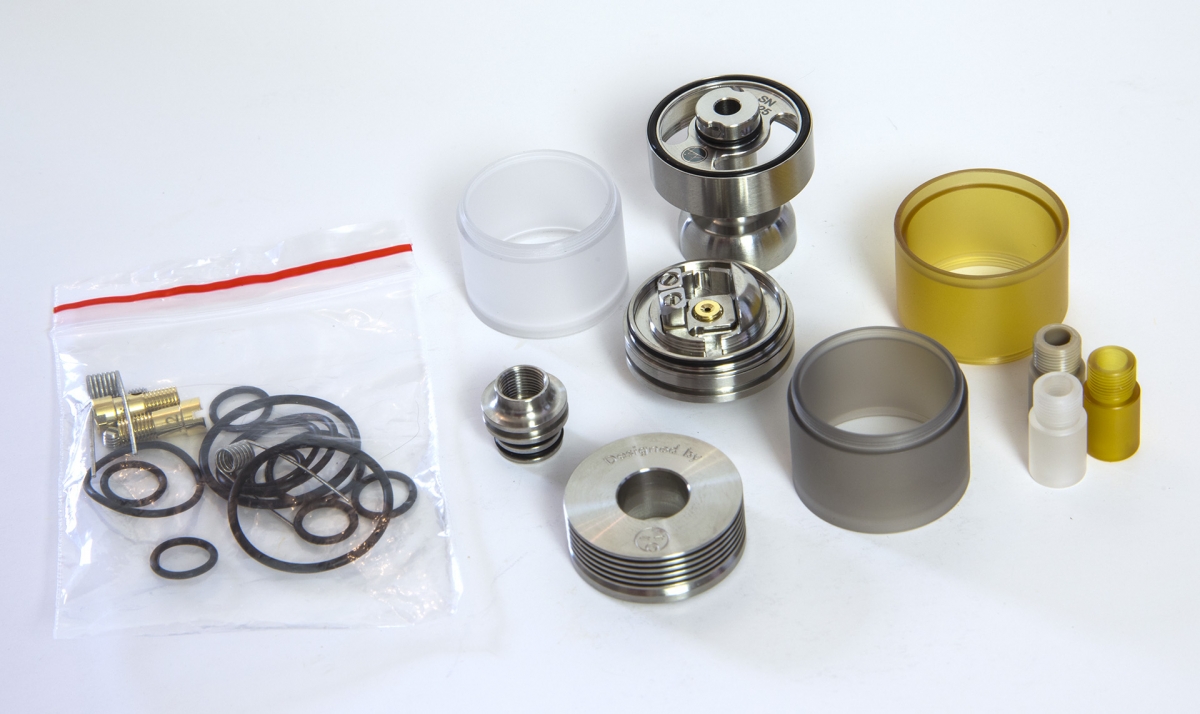
As mine was a sampler, I didn’t receive any documentation but everything was common sense and self-explanatory.
Looks and First Impressions
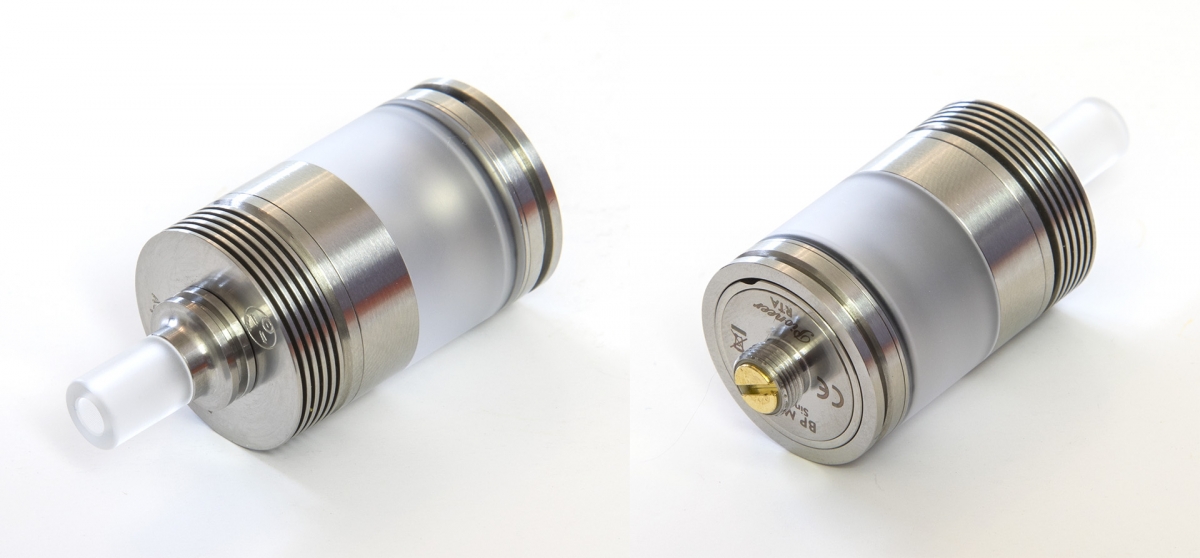
First impressions were very positive. I love the contemporary and classical design, it ticks all the boxes as an MTL (Mouth To Lung) RTA for me, decent 3.5ml capacity, 22mm diameter, top fill, large filling ports, adjustable airflow control ring, narrow bore 510 drip tip, tank colour options and easy build deck.
There’s just something about it that shows a lot of love has gone into the design and it is very well put together. The finned top cap and the designer drip tip work really well together, and the assembly is simple but when you strip it down you start to see the tiny details that make it look interesting, even the chimney to drip tip connection has been considered to reduce condensation.
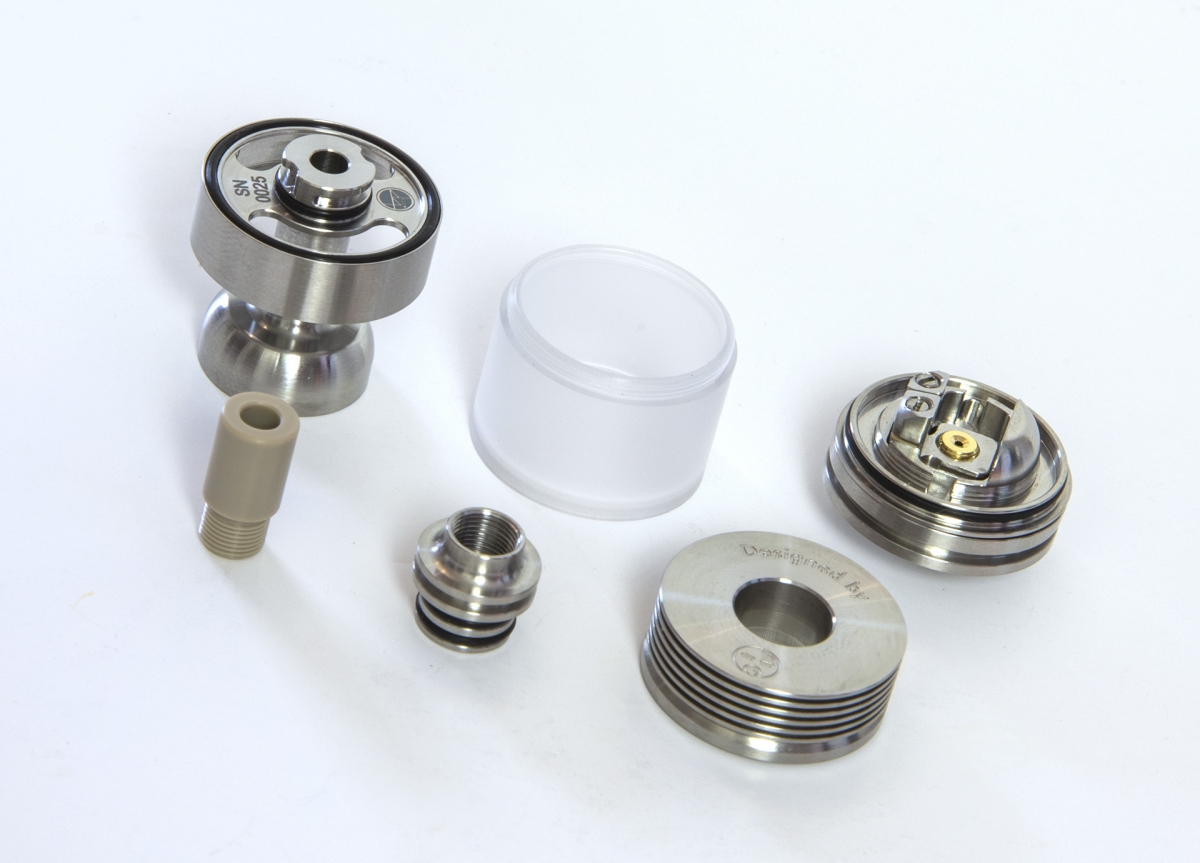
Before you begin to build, you might wish to change the airflow restriction pins. There are three sizes, and the smallest pin is preinstalled. Again, I only have a sample to review but I could only see the markings on two of the pins, 1.0mm and 1.5mm, the other looks close to 0.5mm going by scale.
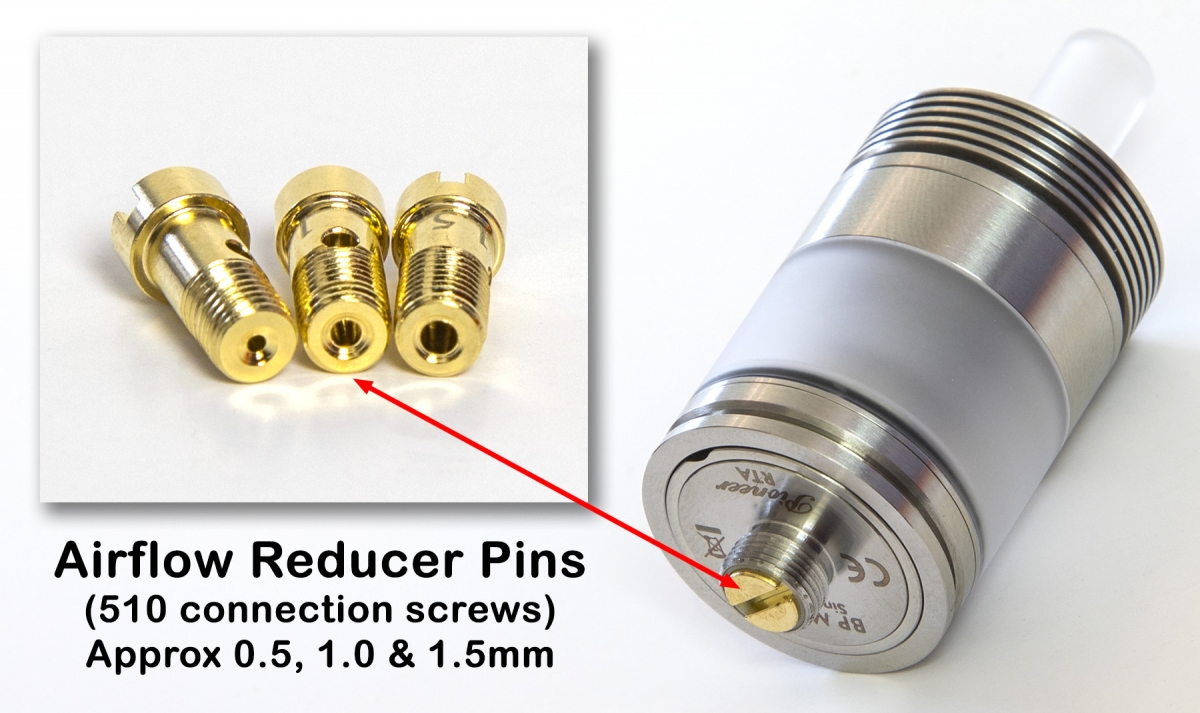
Now I really love a tight MTL draw, the smallest pin was VERY tight so I prefer the 1.0mm reducer with the bonus of being able to fine tune it with the AFC (airflow control) ring to find your sweet spot whichever reducer you choose.
Another great feature of this atty is that you can change the reducer without having to strip the coil out as it is simply a case of unscrewing the 510 pin to swap which is a pro for me.
Build and wicking
I found building the Pioneer extremely easy to build on. Though there are tiny post screws, the heads still took my usual flat head screwdriver in my Coil Master toolkit. My first build was using the included fused Clapton coils, the material spec wasn’t provided as I didn’t have the manual, but they were not magnetic so I am going to assume they are Ni80.
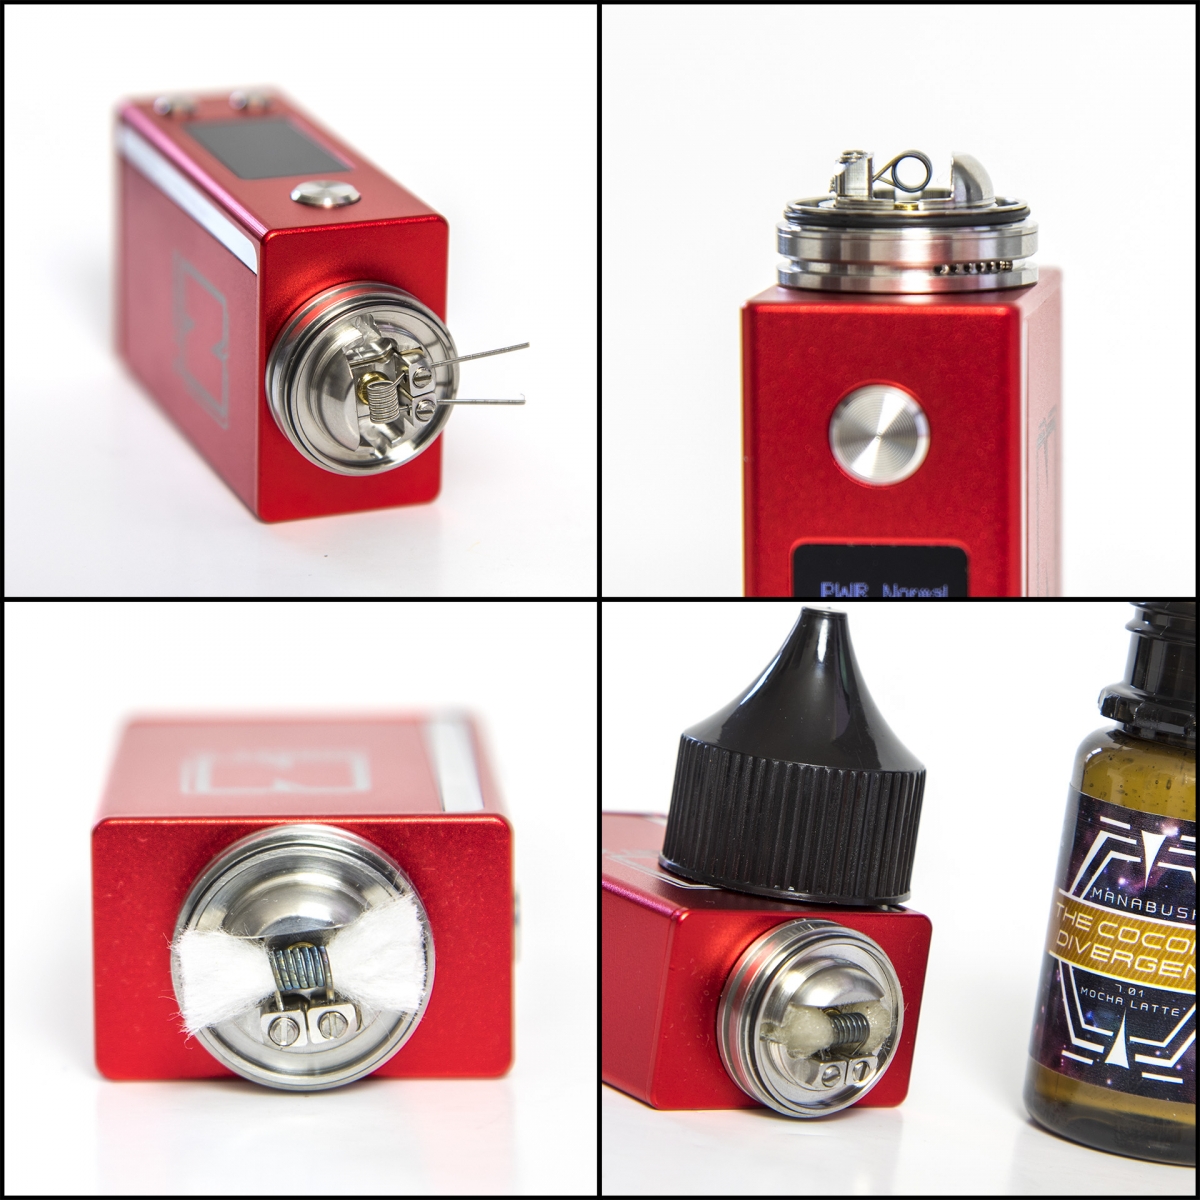
Fitting the coil was simple enough though I recommend doing this over a worktop as it’s quite easy to loosen the screws too much and risk losing them (though there are spares included). The coil posts cater for left or right hand wraps and everything is intuitive for the position, pretty much all central and the height to be level with the top (no higher). Trimming the leads is also easy with ample room to access them.
Wicking (I used Muji pads skinned) follows the tried and tested ‘trim to the edges’ of the base, I didn’t need to thin or trim, then tuck the ends into the juice ports making sure there’s no cotton hanging over, prime up the cotton with your chosen juice and you are ready to put it back together.
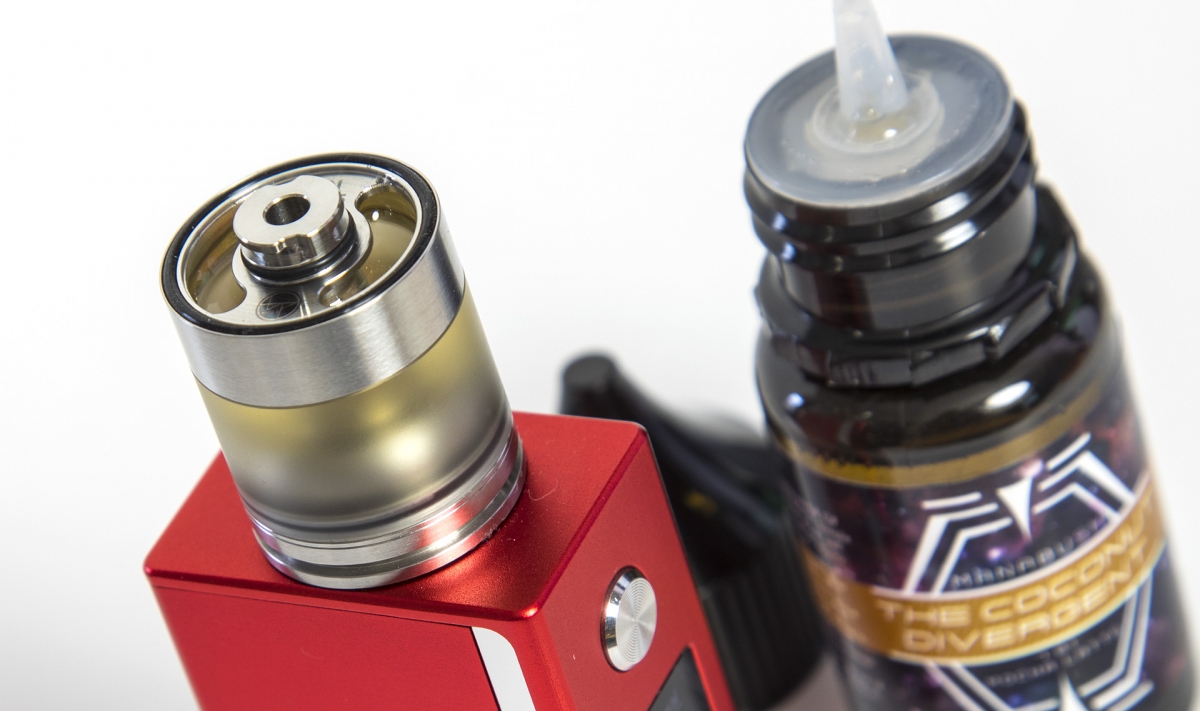
Assembling the tank back together was all basic common sense. The clear PCTG section should be screwed into the chimney/top section first though, don’t over grip it as there is a degree of flexibility which can deform it making it harder to screw it in place (less is more).
Filling is a breeze with its large fill ports and capacity, you can happily fill it right up to the top. The top cap is a nice ¼ turn action and seals nicely, the resistance is not too loose or tight and I have experienced no issues with it coming loose.
Even before I took my first toot on the Pioneer, I was very impressed. So did it perform as good as it looks?
Performance
Before I go deep into it, bear with me as my experience improved a lot which could be down to personal preferences.
I started off using the included Clapton coil which came out near 0.8Ω and I had the smallest airflow screw in. Straight away I could tell the draw was too tight for me so I swapped the 510 pin for the 1mm pin, this was super easy and quick. Vaping it after that at around 11 watts, the draw was much better with a couple of air holes exposed in the AFC ring. The vape was very good and flavourful, but it didn’t quite give me that wow factor. I continued to use it until I emptied the tank, I then decided to throw in a new plain wire build 28awg coming out at 1.4Ω, vaping at 9 watts and the vape for me was so much better, in fact it was superb and I really started loving the Pioneer.
The drip tip is worth a mention on its own, it is a proper bespoke tip that suits the tank perfectly and you get three options (two x PTG and one x PEEK) of screw in mouthpieces which are narrow bore, the narrow bore makes quite a difference and I love the draw you get through it. I did try some of my other favourite 510 MTL drip tips on it, but I soon came back to the ideal included one.
I carried on with this setup as it suited my MTL preferences, a nice tight, smooth draw with full on flavour. I honestly couldn’t ask for more from a MTL RTA, and I couldn’t think of any other RTA I have used that beat it overall.
DTL wise, I really can’t comment. As it is, I would say you could get a restrictive DTL with the larger insert and AFC ring fully open, however there is a DTL (Direct To Lung) kit available for the Pioneer though I doubt I will bother purchasing one as it is perfectly setup for MTL.
Conclusion
The Pioneer is a superb little RTA which ticks all the boxes for most MTL users, there’s so much to love with this atty and I honestly cannot think of anything I dislike enough to class as a con.
That said, there’s nothing you could class as a ‘game changer’. I would more say it is a case of refining previous innovations and perfecting features, it is obvious a lot of loving care and attention to detail has gone into the Pioneer, and they have pulled off one of the best MTL RTAs on the market and at a reasonable price.
The condensation trap airflow works a charm, so far I’ve experienced no condensation reaching my mouth, despite the narrow bore drip tip. It’s only when you see a cross section of the design that you see the finer details that make Pioneer what it is.
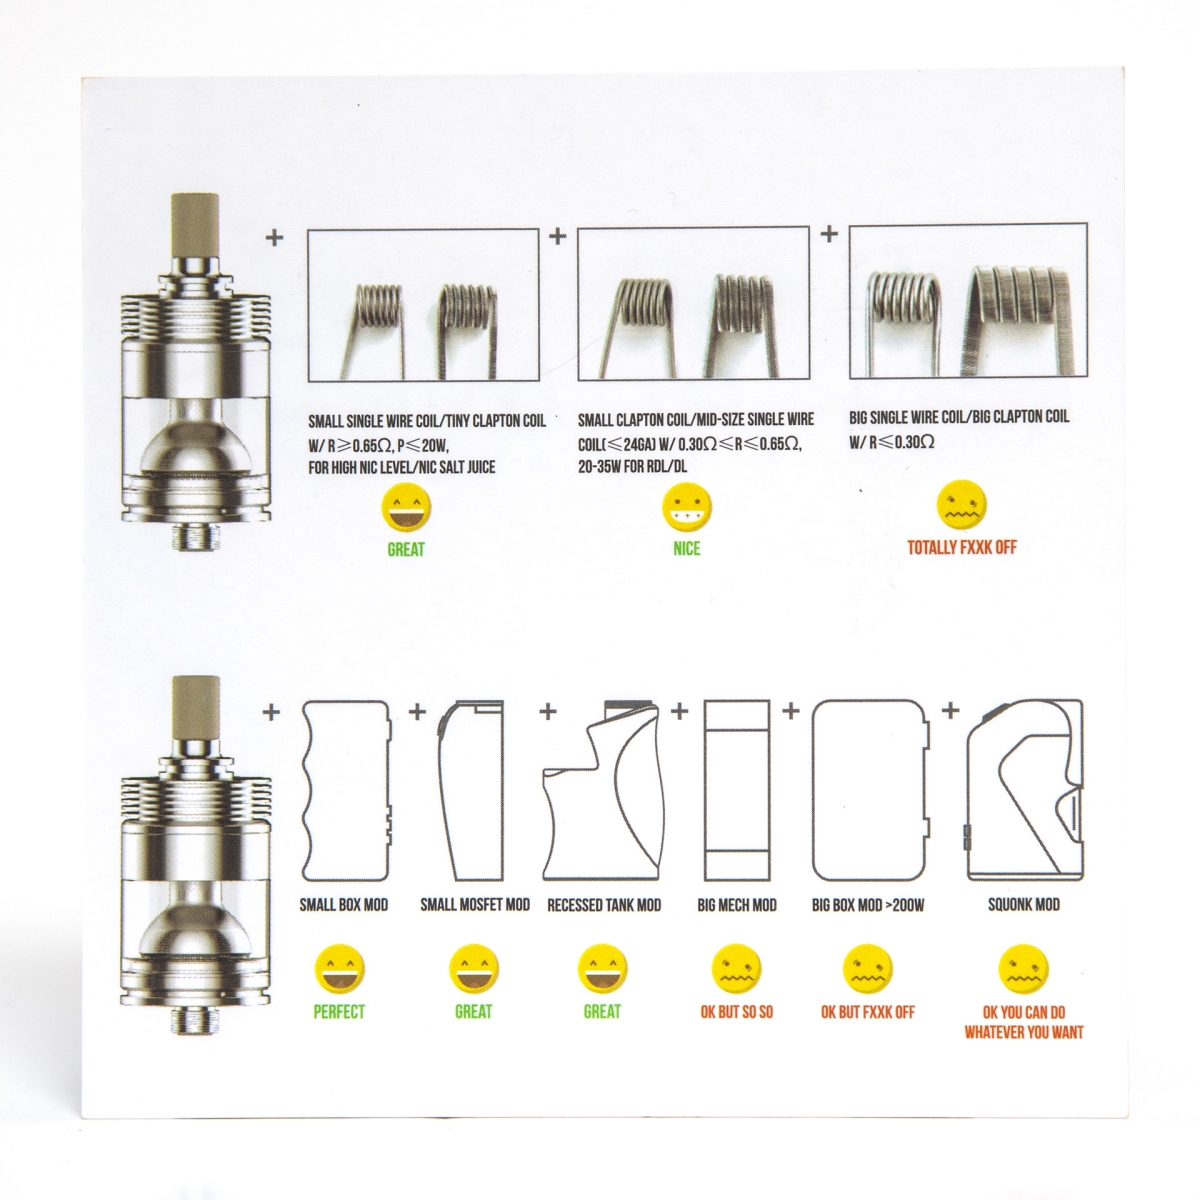
A little touch that tickled me was the included ‘Usage Card’
Pros
- Flavour is superb
- Perfect airflow for MTL
- Large and easy build deck (for MTL)
- Build chamber dome is perfectly shaped to deliver flavour
- Condensation trap in airflow
- Airflow restrictor & AFC ring work well together
- 3.5ml capacity but without it being too tall
- Easy topfill
- Very narrow bore drip tip
- Colour options included for drip tip & tank
- Contemporary styling
Cons
-
None
Final Thoughts
I put some thought into not giving any cons, mainly for the reason I really couldn’t think of any. Even nit picking, I could only come up with one. I know no cons goes against the grain for reviews and I am aware of this, what might be a pro for me but could be a con for you, I also kept my opinions on Clapton coils as a personal choice instead of a con as that has been my personal taste, so how about a subjective compromise?
Minor Niggles possibly?
- PCTG tank instead of glass
- Top cap is larger than required
- 2ml capacity would have made it more compact
- AFC Ring can be a little tricky to adjust as it is such a narrow base
Score: 9/10 – Nothing is perfect but this comes close!
Si Davies
Reviewer at POTVMy background is Engineering and Professional Photography. Mostly from POTV users knowledge I learned so much about pretty much all styles of vaping and equipment, Cloud Chasing, Squonking, Mouth To Lung, Direct To Lung, Pods, Mechs, Rebuild-able tanks and atomisers etc, and have experience with many many devices and atomisers, it's become a hobby and enjoy trying out the latest gear. I like to think my reviews are plain speaking and informative without getting too technical, if I have to resort to reading the manual then I don't consider it user friendly!
Join the discussion
Hellvape Fat Rabbit Solo 2 RTA
Hellvape are flying the flag for the rebuildable vapers with their latest addition, the Hellvape Fat Rabbit Solo 2 RTA
Hellvape Dead Rabbit MTL 2 RTA
Hellvape are still flying the flag for traditional rebuildable vapers, and Antony got his hands on the latest Dead Rabbit MTL 2 RTA
Hellvape Dead Rabbit 3 RTA 2024 Edition
Hellvape are flying the flag for rebuildable vape gear with the newly released Dead Rabbit 3 RTA 2024 Edition

