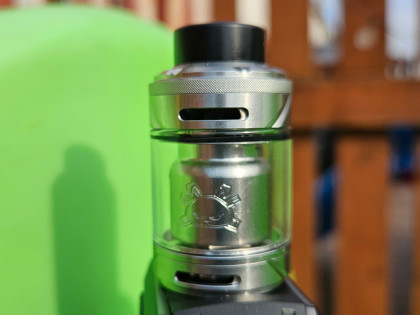
Atmizoo Tripod 2
The best just got better! We take a look at the Atmizoo Tripod 2
Share on:
My love affair with Atimizoo started many years ago (relatively speaking) when they launched the Roller mech mod. It was lovely to look at, beautifully made, and could take any common sized battery at the time which made it highly versatile, if you wanted something small and discreet, you could wind it up with an 18350, but if you wanted something that would last all day, then you could let it out and go with an 18650. In any mode, it was a sexy little beast and is still to this day one of my favourite mods of all time. But it was the customisable options that really set it apart, it could suit any style and occasion. The Tripod 2 takes this same ethos of being a tank for all styles and occasions, it is one tank for every vaper.
There are two options when you buy the Tripod 2, there is the Basic option which cost €105.40 and contains:
- 1 x Tripod2 RTA (pre-installed: 1 x Open Chimney, 1 x Nut 5, 1 x 510 Wide Drip Tip, Air Flow Tube 4.0mm)
- 1 x Set of Spares (2 x Post Screws, 1 x O-rings Kit, 1 x Restricted Chimney, 1 x Nut 3.5, 1 x 510 Narrow Drip Tip, 1 x Tank Body Stock, Phillips Screwdriver Tool)
- 1 x User Manual
- 1 x Warranty Card
- If you want the full options, there is the Deluxe kit which costs €130.20 and contains:
- 1 x Tripod2 RTA (pre-installed: 1 x Open Chimney, 1 x Nut 5, 1 x 510 Wide Drip Tip, Air Flow Tube 4.0mm)
- 1 x Set of Spares (2 x Post Screws, 1 x O-rings Kit, 1 x Restricted Chimney, 1 x Nut 3.5, 1 x 510 Narrow Drip Tip, 1 x Tank Body Stock, Phillips Screwdriver Tool, Air Flow Tubes Kit 2/2.5/3/3.5mm, Universal Air Flow Pins Kit 0.8/1/1.2/1.5/1.8mm)
- 1 x User Manual
- 1 x Warranty Card
For this review, we are going in at the deep end with the Deluxe kit.

Specs and unboxing
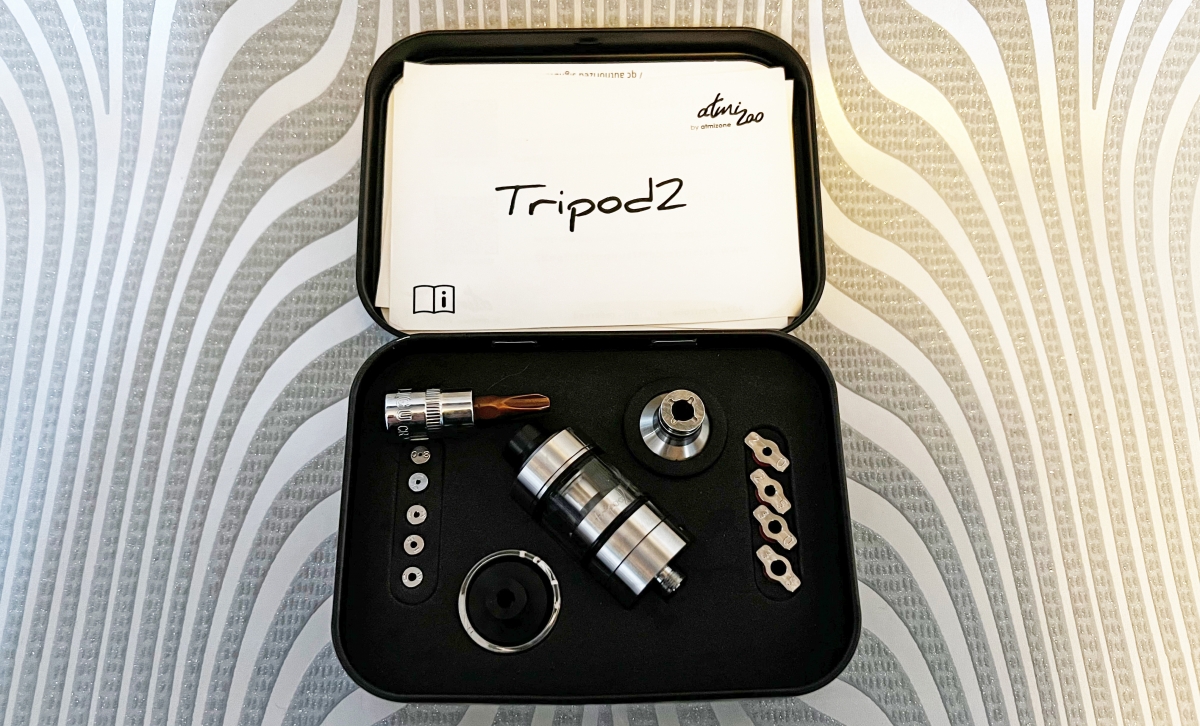
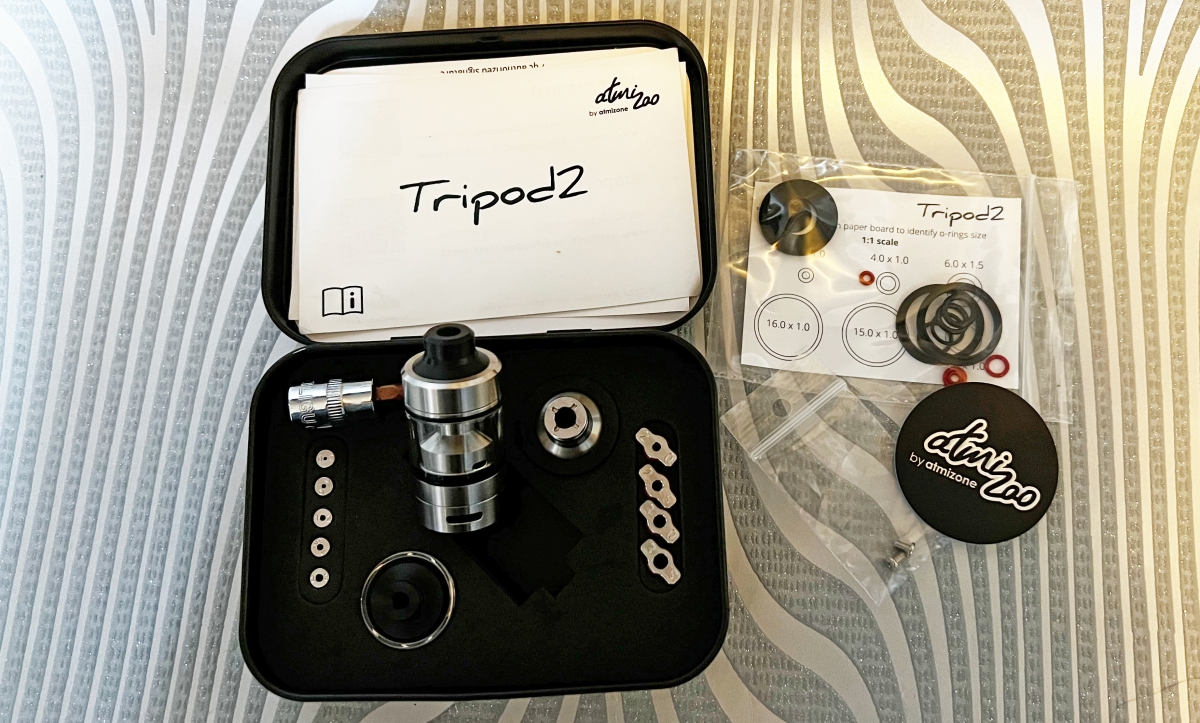
I always love Atmizoo’s presentation, I have quite a collection of tins now. Not only do they look great, but they also keep everything safe and secure and also help to keep all the parts organised, and with this many bits and bobs, you need to keep some order. There is a place for everything, and everything has its place. As if it wasn’t instantly impressive once you open the tin, underneath the main section you will find more goodies including spare screws, a sticker, and spare O-rings. One of the details I really love is the card that comes with the O-rings with diagrams of each size so you always have the correct replacement when you need to swap things out. Finally there is the paperwork, a QR code to take you to the manual (worth reading before you start), a warranty notice, and the certificate of authentication. There has been a lot of thought that has gone into every aspect, and it really does feel special, but if I can’t convince you with the pictures, here are the official specs:
- Air flow tuning via five pin options 0.8mm/1.0mm/1.2mm/ 1.5mm/1.8mm respectively, pinned inside a D=4.0mm nest, plus through five air flow tubes 2.0mm/2.5mm/3.0mm/3.5mm/4.0mm. No tube for a perfect airy 5.0mm DL
- M2.5mm pan head phillips post screws
- Two 510 drip tips (Narrow and Wide), can also host any 510 drip tip
- 10.0mm post-to-post space, ~6.6mm post-to-post net space , ~5.8mm coil space
- Max. net coiling height ~8.8mm (Open Chimney) / ~7.0mm (Restricted Chimney)-Chimney top inner D ~5.0mm (Open Chimney) / ~3.5mm (Restricted Chimney)
- Height 510 excl., 37.1mm [Drip Tip off]
- Weight ~50g [Drip Tip off]
- SS316 foodgrade main device metal parts
- PEEK thermoplastic insulators
- POM (Acetal) Drip Tips
- SS304 post screws
- food grade o-rings and gaskets
- Quartz Glass Tank Body
First Looks
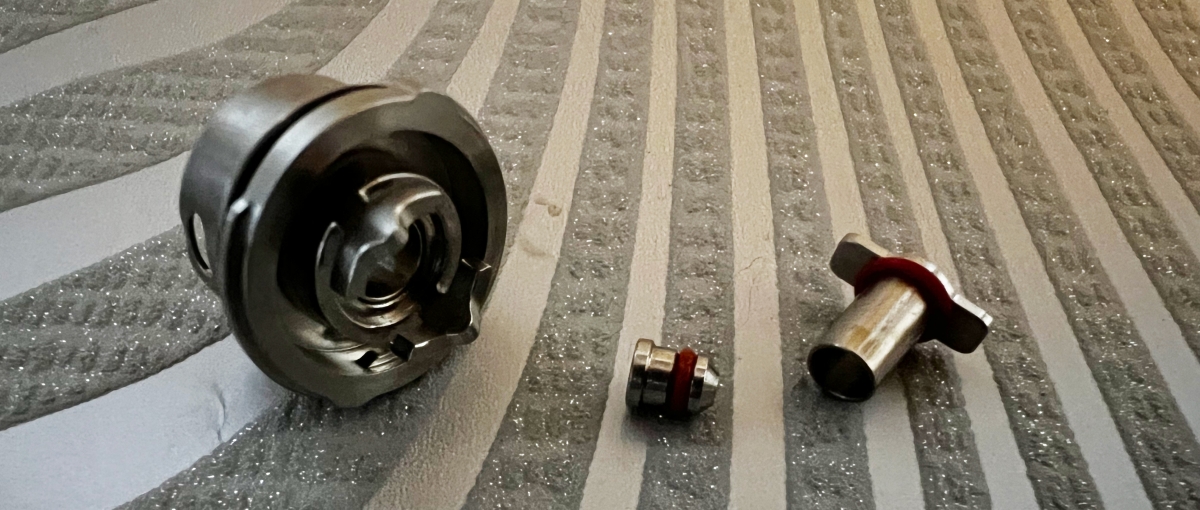
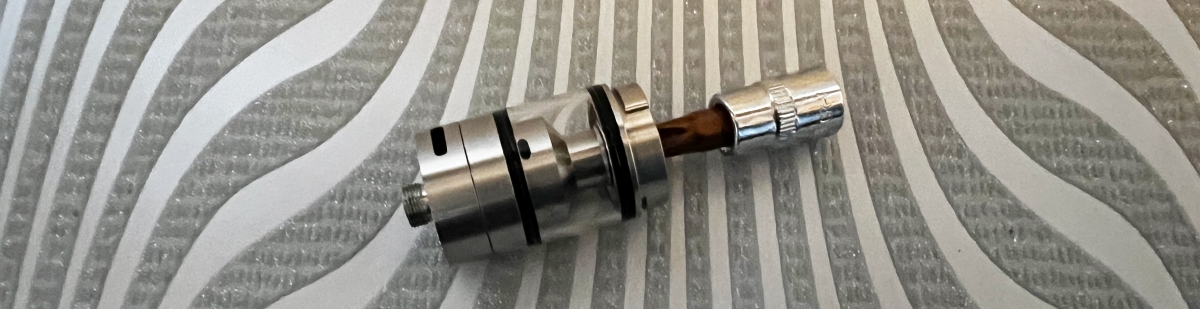
I was like a kid at Christmas when I first cracked opened the tin, there are just so many shiny things to look at. First choice is which chimney to go with. Whilst I like to chuck clouds with the best of them, I am predominantly a MTL vaper, so I went with the restricted version. As well as being more suited to my style, it also has a slightly bigger e-liquid capacity so is better for taking to work for the day. The open chimney is fitted as standard, so you have to swap things over. Atmizoo provide a Philips tool which fits perfectly so all you have to do is take off the top cap, insert the tool and unscrew the chimney screw, and break the tank down. Then you can swap the chimney and reassemble everything. I have to say mine was very tightly put together and it took a lot of force to get it open first time and I would suggest not over tightening when you put things back together.
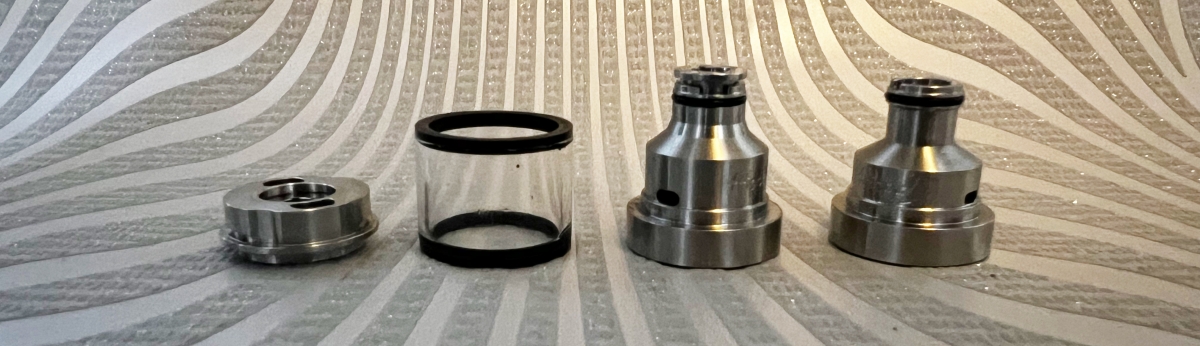
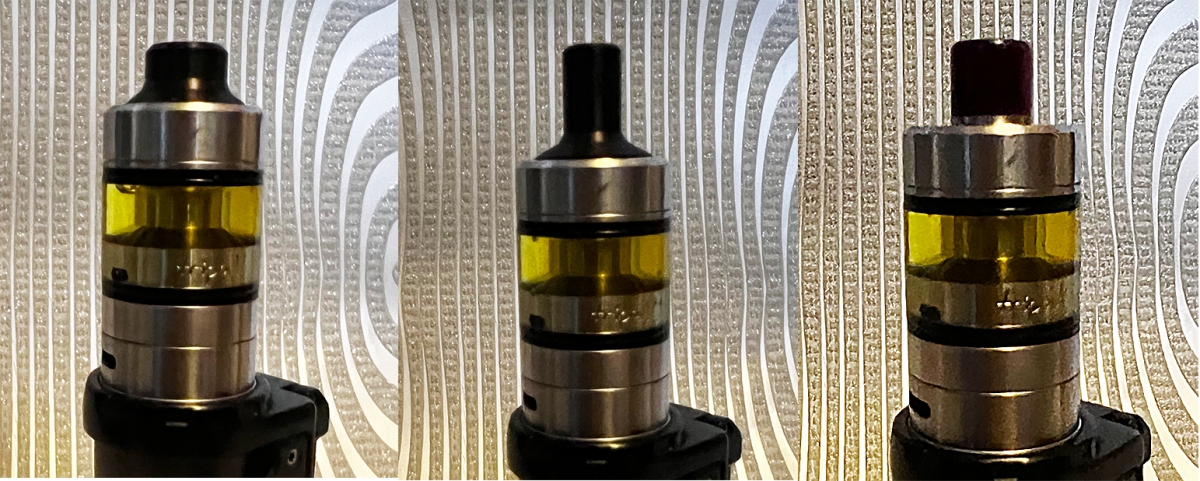
Next choice the drip tip. You get a choice of two, a stubby, wide dtl one and a tall, restricted mtl one. Both are very comfortable to use and look and fit well. One of the things I wasn’t keep on with the original Tripod was the custom drip tip, whilst it was lovely to use, it was very fragile, and one drop would break it. In theory you could use your own, but I found none of my stash of drip tips fitted particularly well. So I can’t say how happy I am that you can use any 510 drip tip in the Tripod 2, but this is only one of the many tweaks and improvements the new version has.
Once you have sorted out the top end of things, it is time to play with the airflow, and this is where things get even more interesting. With the Deluxe kit, you get a fully customisable vape, from cheeking suckingly tight to as loose and airy as you could wish for. The really clever bit though is how you change the airflow as you can do it on the fly. The original Tripod used inserts which went under your coil and worked really well but if you wanted to tweak things, you’d have to pull out your build to be able to access everything and that could be annoying, especially when you have a golden coil! So Atmizoo have come up with a really simple but clever solution. You can now access underneath the build deck and there you will find a tunnel to slide in which ever airflow tube you fancy.

To tweak things even more, you can then select different inserts which go into the top of the tube to tighten things further. Once locked in place, the airflow sits perfectly under your coil. If you want things to be super airy, you don’t need to bother with any of this and just have it empty, but where’s the fun in that?
The other benefit of this new airflow system is as a leak protection. I used to find the base of the original Tripod would get a bit damp over time if I didn’t take it off my mod to wipe things down, even with all the O-rings some juice would still steep out. The new system acts as a catch cup, so any stray juice sits insulated away from everything else. The bottom pin and isolator are such a good fit that nothing escapes.
So now everything is set, it’s time to build!
Building on the Tripod 2
Accessing the deck is simple, turn the glass section counter clockwise until it hits the stop, then pull the body off the base. On the original Tripod, you had to line up arrows to release this section and if you didn’t have good lighting or eyesight, this could be a challenge. This new design is a big improvement.
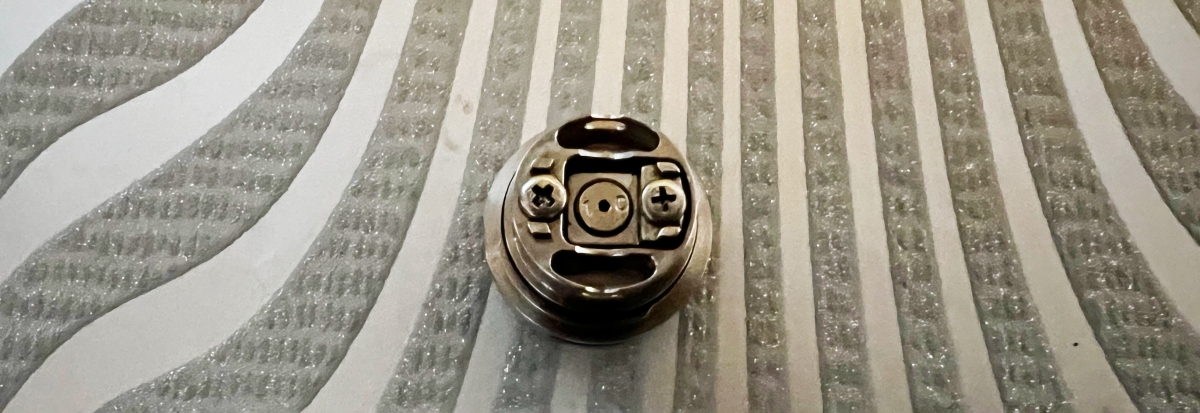
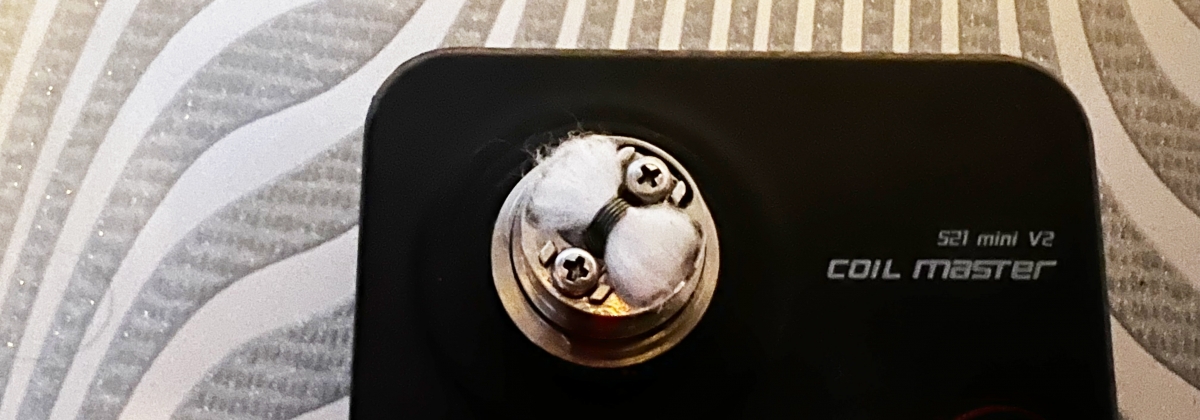
Whether it was the Dotshell or the Tripod, I’ve always loved the simplicity of Atmizoo build decks, and the Tripod 2 takes everything good and refines it to make this one of the easiest tanks to build. It is a real pleasure and is also very forgiving so is a great tank to learn on. I decided not to go crazy; I know what build I like so I stick with it. For me, 4-5 wraps of 28guage Kanthal with a 3.0mm diameter hits the spot, so that’s what I went with. One of the great tweaks to the deck is the inclusion of some wire traps so you can now wrap the coil legs right around the screw and then you can catch the ends on the other side. It holds everything in place well and means you can tidy things nicely by wiggling the excess and you don’t end up with stray bits that can rub on the tank sides and cause shorts.
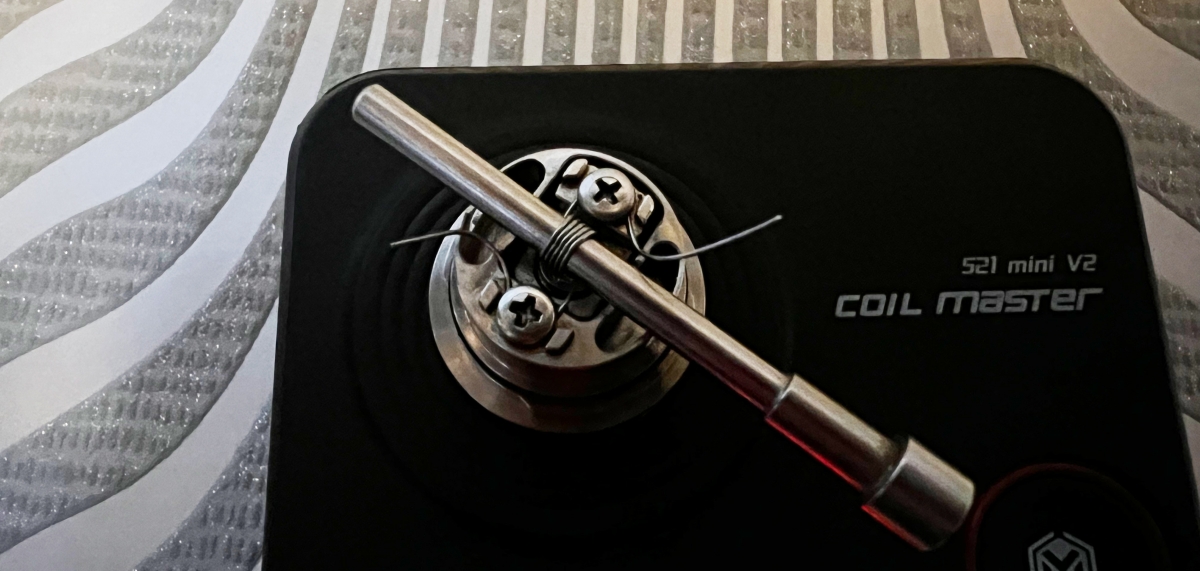
Once you’ve positioned the coil and strummed it out to get a nice even glow, you can then move on to wicking. Just trim the wicks to the edge of the base and fluff things up a bit and that is it. You can then tuck them in to the juice wells which are slightly bigger than the original ones, so you have plenty of space to work with.
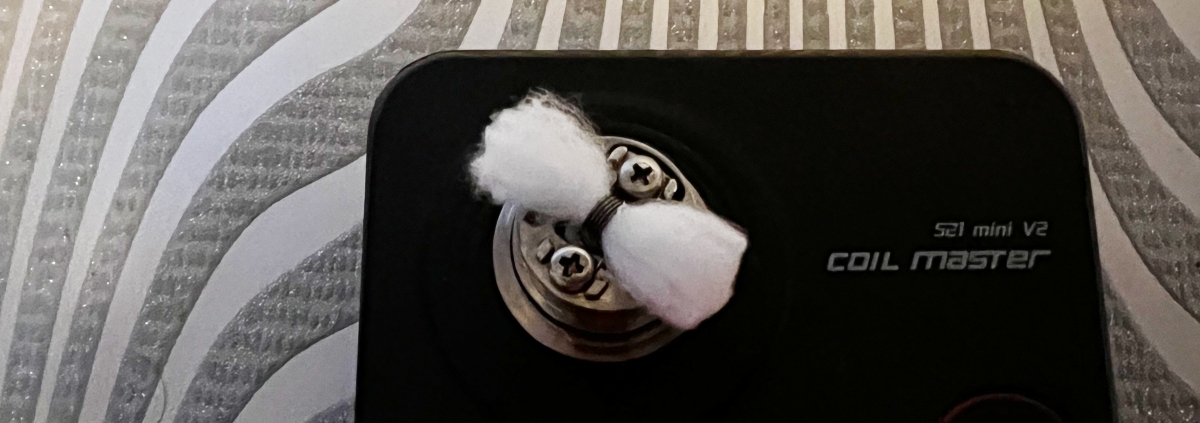
You don’t need to be that careful either, I haven’t had any flooding or strangled wicks and I have literally just bean throwing my coils and wicks together. Once you are happy, you can then juice things up and that is the build complete.
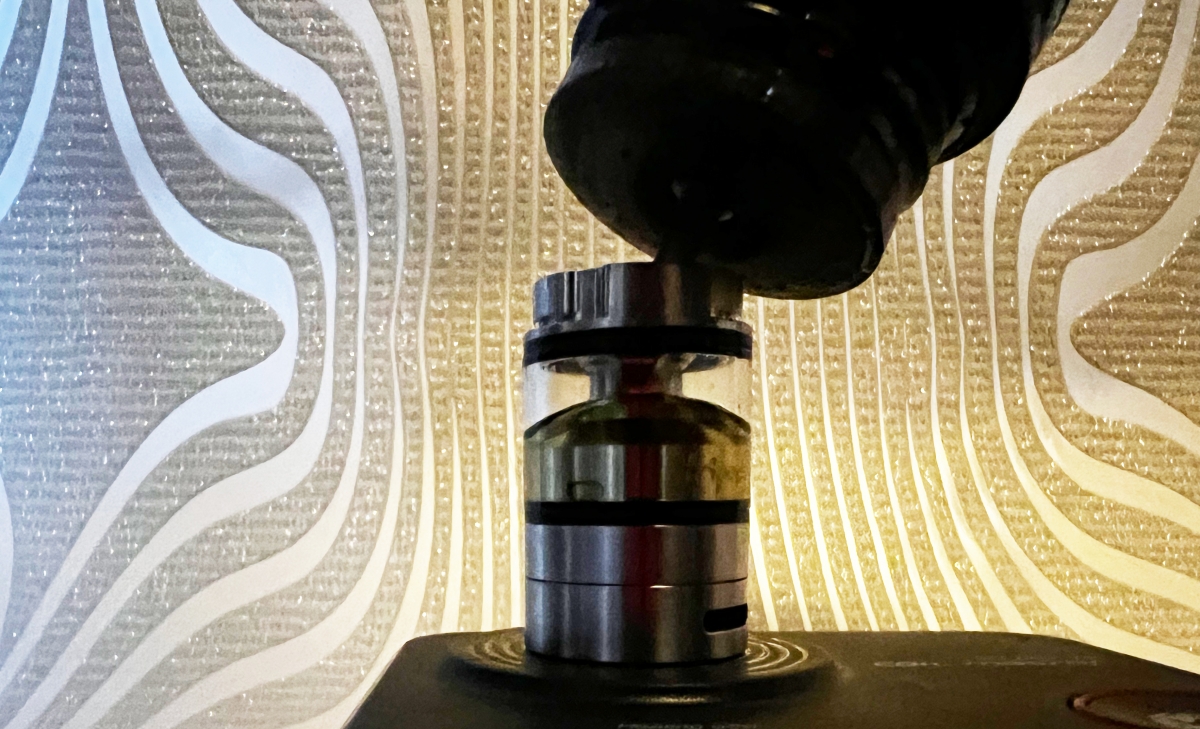
The last step is to fill her up and this really shows off the beautifully engineered build and design of the Tripod 2. To access the fill ports, turn the tank anticlockwise to close of the juice flow to the deck (the same way that you use to access the deck), then turn the top cap a bit further until it stops and then the top comes straight off revealing the access points. It is silky smooth, and everything fits togther so well. The fill ports are generous so you will have no problem with any e-liquid bottles you might use.
The Proof of the Pudding
So now everything is built and all customisation options have been set, now all that is left is the vape, and let me tell you, it is superb. It is a delightfully smooth vape with no whistles no matter how you set the airflow. The domed cap in the chimney really helps to smooth things off and the flavour is just superb. It pulls out every subtle flavour note from your juice and provides a rich, full, and satisfying vape of the highest quality. It works equally well with thick, sweet juices and thinner mtl e-liquids too, it really is a tank that can do it all. The juice flow ports are positioned well too so you can vape it almost dry. I didn’t think the original Tripod could get any better when it comes to straight up vape quality, but the new version just refines everything. It is my new favourite tank, and I can’t see it being kicked off the top spot for a long time to come.
Final Thoughts and Score
I think you can probably tell already how much I love the Tripod 2; it is just fantastic. The build quality is stunning, the engineering is top notch, the use is ridiculously easy, and the vape quality is stellar. If you already have the original Tripod, you already have a fantastic RTA, but the Tripod 2 builds on everything and takes it up to the next level so if you are in two minds as to whether you need the new one, I’d say there are definitely enough features to make it well worth the upgrade. If you are new to the Tripod series….what has taken you so long?
I know it is quite expensive, especially if you aren’t really into high end vape gear, but what you have with the Deluxe kit is all the options you could possibly want in an RTA. It will suit every mood and occasion and will last you for a very long time, so I’d say it is a great investment. Of course if you just want to dip your toes in to see what all the hype is about, you can go with the basic kit and then buy any of the options at a later date, it is a great way to try things out if you are not sure if you’ll like it, and I think it is a fantastic that Atmizoo offer that option.
10/10 – The Tripod 2...the best just got better!
Michelle (Purplefowler)
Reviewer at POTVWhen her usual forum closed, Michelle found herself in a brave new world full of excitement that something fresh and new was happening. A few days later she somehow found herself on the moderating team and is still not really sure how that happened. Even stranger, she slowly worked her way up to admin and now helps behind the scenes, liasing with vendors and coordinating social media but she can still be found making smutty comments on the forum. If all that wasn't enough, she also is a proud member of the Potv review team specialising in E-liquid reviews for the discerning vaper.
Join the discussion

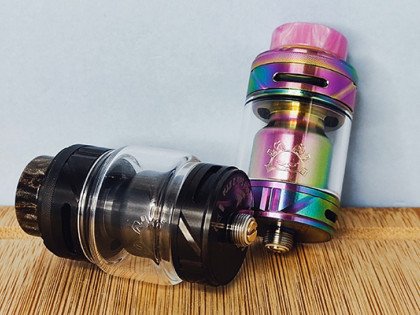
Hellvape Fat Rabbit Solo 2 RTA
Hellvape are flying the flag for the rebuildable vapers with their latest addition, the Hellvape Fat Rabbit Solo 2 RTA
-
by Antony Lord

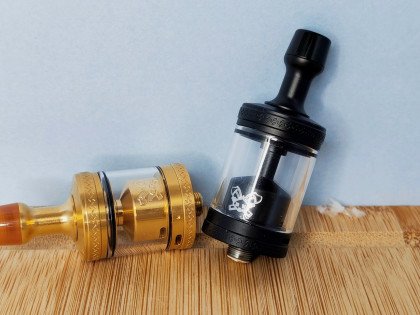
Hellvape Dead Rabbit MTL 2 RTA
Hellvape are still flying the flag for traditional rebuildable vapers, and Antony got his hands on the latest Dead Rabbit MTL 2 RTA
-
by Antony Lord
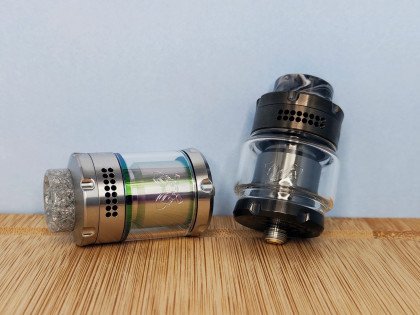
Hellvape Dead Rabbit 3 RTA 2024 Edition
Hellvape are flying the flag for rebuildable vape gear with the newly released Dead Rabbit 3 RTA 2024 Edition
-
by Antony Lord