Atmizoo SteamShell
It will surprise nobody who knows me that I adore Atmizoo, I’ve loved them from the very first moment I saw the Roller mech mod and just when I think I can’t love them any more, they go and release a new product which just takes things up another notch. They are constantly refining their art, taking everything they learn and building on it. When they bring out a new tank or RBA, they never just bring out the same stuff just slightly modified, they tweak and perfect what already seemed like perfection until you try the new version and realise that they've reached new heights yet again. They are nothing if not consistent!

This time round, they have turned their attention back to Boro compatible RBAs with their successor to the VapeShell. Even the name has been turbo charged with the latest iteration…the SteamShell! Just the name brings to mind visions of clouds that go on forever, and indeed this little RBA can deliver just that if that is your thing. Like the recent Tripod2 though, the SteamShell can be all things for all vapers, so whether you like it cloudy or you go for pure flavour, this kit has got you covered.
Back to Basics
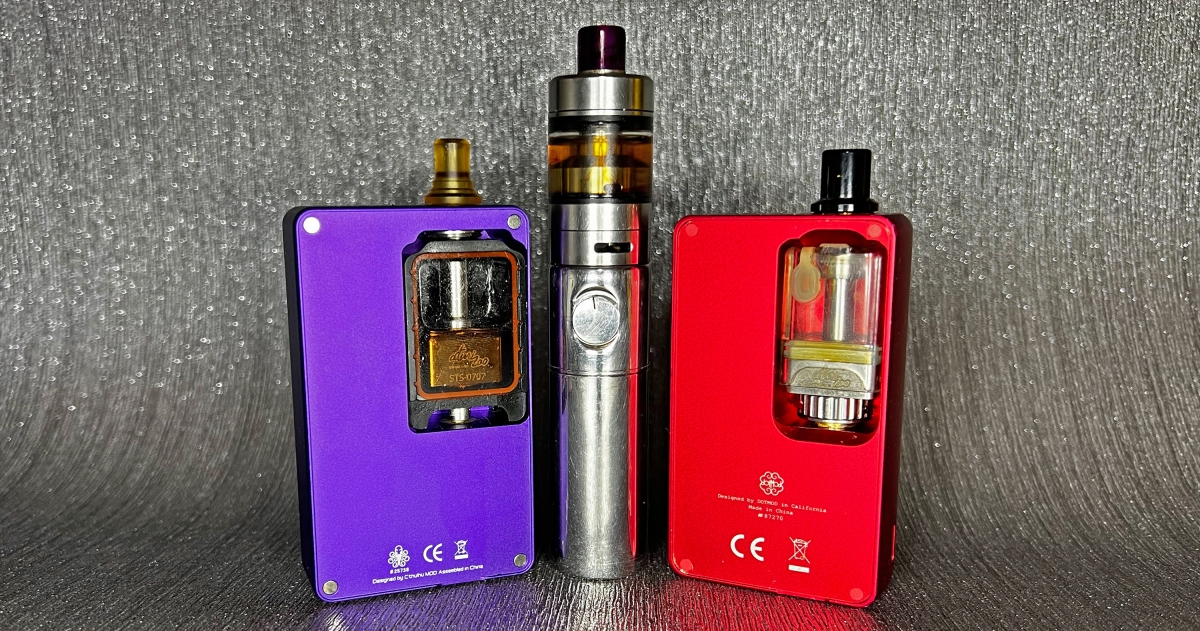
As much as I would assume most people reading this would know what I am talking about here, not everyone has dived into the mysterious world of Billet Box/Boro compatible all in one devices, so I will try and give you a quick catch up to bring everyone up to speed. Whilst most people are familiar with the traditional mod and tank kits, Boro kits use a rectangular tank which holds the e-liquid and the atomizer all in one place. The devices tend to be more streamlined as everything is concealed inside, giving things a tidy look. The most famous Boro device is probably the Billet Box, the originator of the AIO (all in one) vape mods, but there are other brands such as Cthulhu (which I am currently using), SunBox, BP mods, Suicide Mods and Veepon, among others, who have come up with their own Boro tank compatible kits. In fact, it seems like we are currently seeing a bit of a resurgance in these style mods and there are some really interesting things going on with the design new kits at the moment.
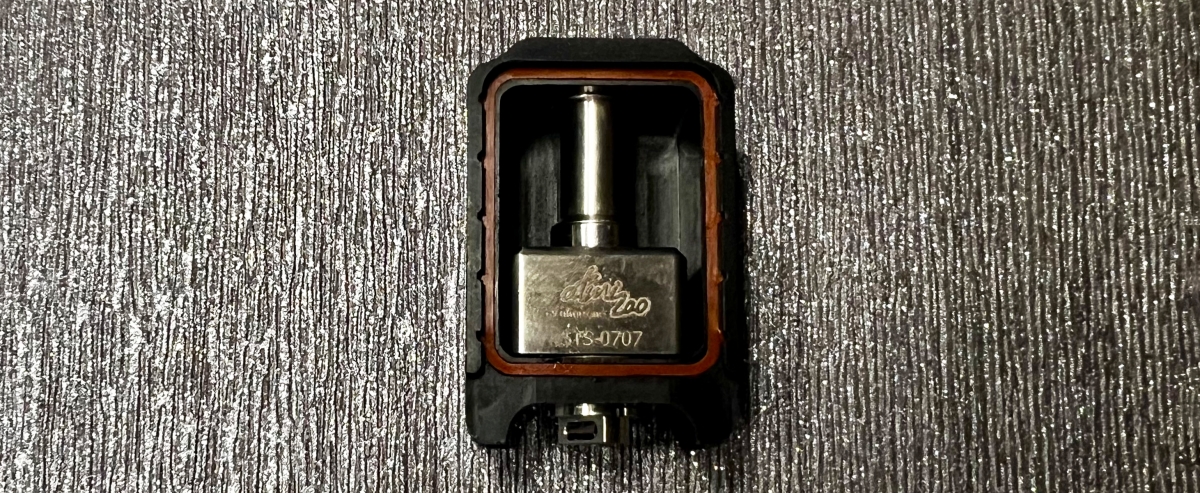
As with most vape kits, the tank area is where the magic happens. The Boro style tank can be proprietary, designed to take their own makers atomiser, which means you are stuck within their own eco system. They often come with adapters so you can use stock coils such as the well-respected nautilus coils. That is all well and good, but if you really want to have fun, you want to get one that can take different atomizers or "Bridges" as they are known as. These will turn your tank in to a rebuildable kit and there are a great many different bridges to suit all vape styles and budgets. The benefits mean you can have a sleek and sexy kit with great flavour and a proper juice capacity.
After that very basic summary, you should now know that the SteamShell is a bridge for Boro tanks, and a damn fine one it is at that!
Unboxing
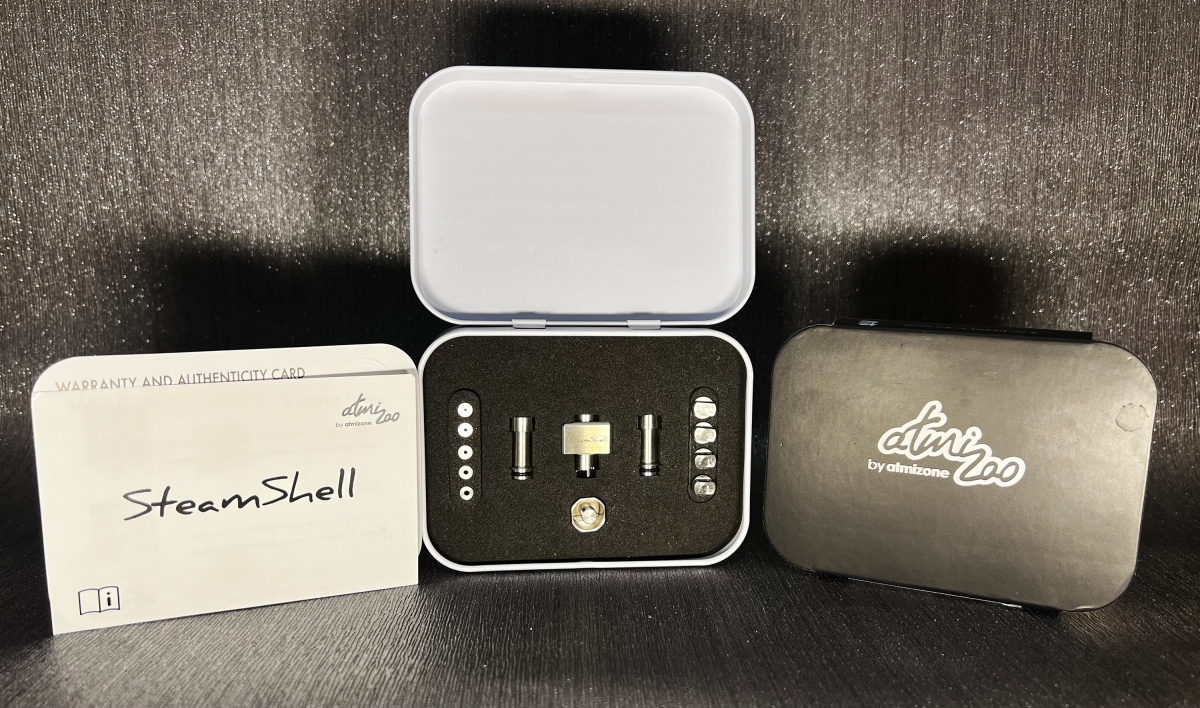
With that out of the way (it is actually quite hard to cover the basics in a way that doesn’t sound too complicated, as it is a slightly different style of vaping, but in reality, it isn’t really that tricky as the principles are basically the same, it’s just in a slightly different form factor), let’s get on to the good stuff. The SteamShell comes in the now standard Atmizoo branded metal tin. As you can see, I have quite a collection of these tins, but I am always happy to have more in the collection. Not only do they look great and set you up for the premium vaping experience ahead of you, but they also keep the contents very well protected, and everything stays perfectly in place so when you have removed the cardboard outer sleeve and have opened the box of delights for the first time, you are presented with a beautifully laid out kit with every piece in its own foam section. I was sent the Deluxe kit with all the bells and whistles, and if I am honest, it was a bit overwhelming at first look. There is just so much stuff included. First you get the actual RBA section, and on either side are two chimneys, one for MTL and one for DTL. Then on either sides are the airflow pins and tubes, so many airflow options that I just sat and stared at the box at first wondering where on earth do I start! Finally, there is an adapter so you can mount the RBA on a 510 base for building your coil and test firing.
Underneath the main section, you will find a few baggies containing spare O-rings and screws, and an Atmizoo sticker, and placed on top is a certificate of authenticity and a QR code which links to the online manual.

If you get the basic kit, you will get the RBA deck, two chimneys, and the spares kit. It comes with the 4.00mm airflow option as standard which is a great starting point. If you want to then try more, you can buy all the airflow tubes, poles, and pins separately so you can always upgrade at a later stage. This is a great option if you just want to dip your toes in without diving in headfirst, and I love that you have the choice.
First Build
Before you start, you will need to remove your airflow tube from the bottom and screw the base on to the included 510 adapter so you can stick in on your favourite build platform. A lovely little detail here is when it is fully screwed on to your building device, there is a really positive click when it is fully tightened. When you get the click, you don’t need to screw it in any further and this means your adapter will be easy to remove. I couldn’t tell you the number of times I have had to get my pliers out on the adapter on my DotShell RBA thanks to it being over tightened, it is really rather annoying, and this is just one of the many ways the SteamShell has been improved to give a better user experience.
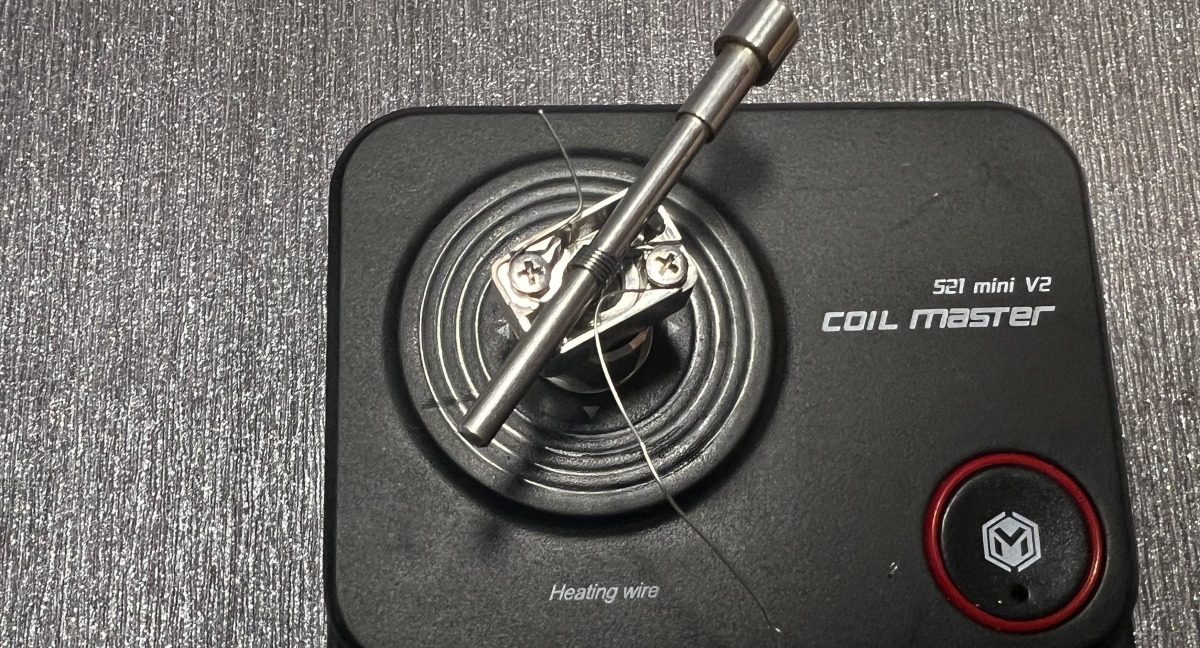
Once you are set, it is time to wrap your coil and get it seated. The build deck is so cleanly designed that it is a real pleasure to build on. There are slight cut outs for you to rest your coil rod on so it is always going to be perfectly lined up ready for wicking. Once you are happy with the basic position, you can wrap the coil legs around the screws, and here is another nice detail. Wrap your legs ¾ way round and you will then see a raised bit next to the post screw. Feed your legs through this bit towards the centre and then tighten the screws, this will ensure that when the legs are snipped, there is no stray wire that could cause any shorts…safety first! Already you should have a pretty nicely positioned coil and even the height should be pretty much set for a great vape. Now you can remove your coil rod and give things a test burn to check that everything glows evenly.

If the coil build was straight forward, wicking is an absolute dream. This has to be one of the least fussy RBAs I’ve had the pleasure to use. With the DotShell, the wick needed to be shaped and thinned to get the best vape, and you had to position it perfectly to get the wicking right. The SteamShell does away with all that, in fact I tried to be really tidy and spent a lot of time when I was playing around with building, and I found it actually gave worse results. I found that just snipping the ends off somewhere close to the outside of the deck and gently bunging it into the reservoirs gave the best results. As long as you don’t pack it in tight, you should get a consistently good vape which can easily keep up with anything you might throw at it. If you do pack things in too tightly, your e-liquid won’t have the freedom to properly spread around the cotton so give it space. I love this as I am not someone who can be bothered with too much fandangling around with wicking, I just want to get the job done so I can get back to vaping, and the SteamShell is perfect for just that.
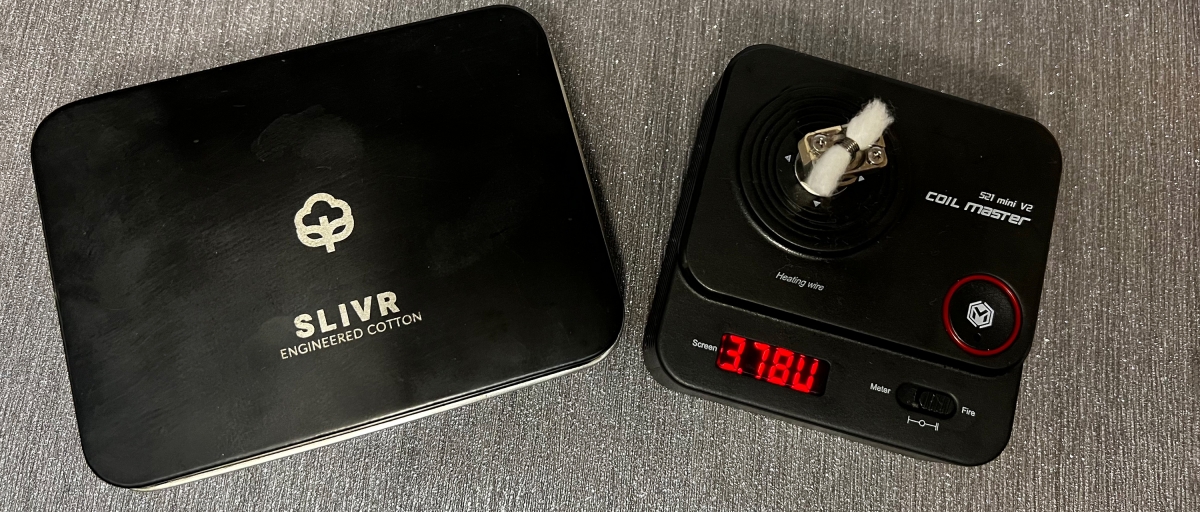
Once you are happy with your build, give it a nice soaking of juice to prime it and then then assemble everything back into your chosen Boro tank ready for filling up. I just have a cheapo basic tank which is a little fiddly to fit as you have to feed everything in and wiggle it all around until everything is properly in place. Next on my shopping list is a proper Atmizoo SnailTank as they are much easier to set up and you can also easily refill it without having to take everything apart.
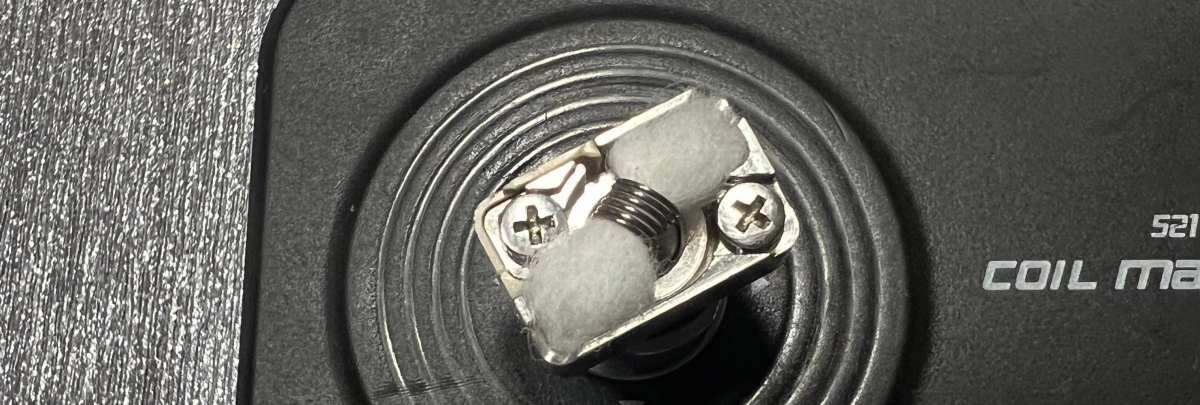
After my first impatient build, I later went back to try a few different builds for this review. I had mixed results here. Thicker single strand wire works well, I have some monster 0.6mm (23/23awg) kanthal that StealthVape chucked in with an order years ago, and it was still super easy to build a coil and get a great vape. More exotic wires aren’t so good though. I have some fused Flapton wire and I just couldn’t get it to the legs to stay in place when I tightened the screws, every time they would just pop out at the end. I did manage to get one coil to stick, but it was a really ugly build, so I wasn’t going to embarrass myself by sticking a photo of it here! My regular 0.32mm (28awg) wire with a 3mm diameter coil worked perfectly though so for what I use, it is perfect. I am sure if you are better at building flashy coils, you might be able to do a better job, but it really doesn’t feel like this is the aim of the kit.
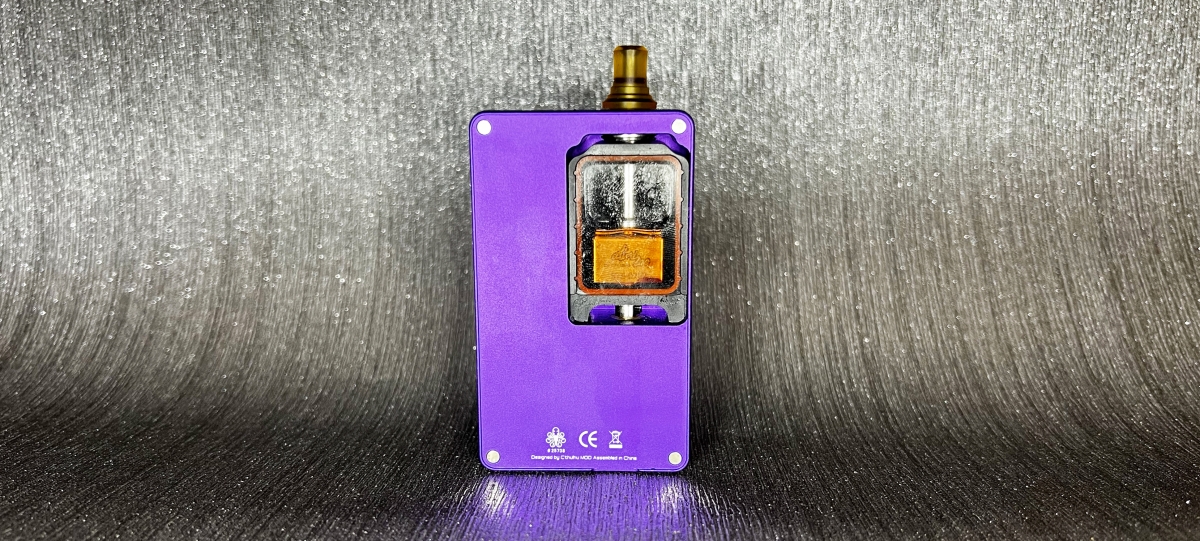
Airflow Options
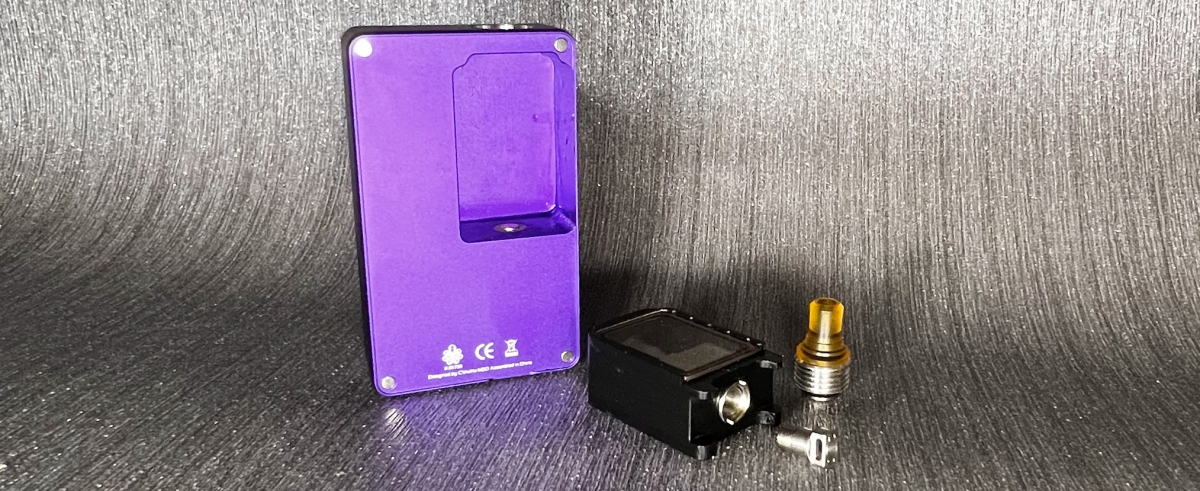
Whilst the 4.0mm tube is a great starting point, if you are like me, you will want more, and you will not be disappointed by the amount of customisation on offer with the full Deluxe Kit. First build, I was impatient and just wanted to try things, so I whacked in a coil and got on with things and got a lovely airy vape with buckets of flavour. But after that, I started to test the other options. With the included doodads, you can get anything from 5.0mm (with no tube or pin inserted) down to a tight 0.8mm for MTL vaping.

Working backwards from most open, you have airflow tubes (4.0mm, 3.5mm, 3.0mm, 2.5mm, and finally 2.0mm), then to go down further you can add pins in to the 4.0mm tube with tighten things up even more (1.8mm, 1.5mm, 1.2mm, 1.0mm, and 0.8mm).

On top of this, there are two different chimneys, a 5mm wide one for DTL and a 3.5mm for a more restricted vape. After experimenting, I personally like the 3.5mm chimney with the 2mm pin which gives me a loose MTL.

To make things more user friendly and to help you fine tune on the go, all of these options can be changed without having to do anything other than take your tank out of your mod. The airflow tubes can all be removed from the bottom, and they also double up to act as the connector. If you want to change things, just unscrew the tube and either stick a different pin in the 4mm or change the tube to a different diameter one, and screw it back in. There is little more annoying than building and setting up your tank just to realise that it is too loose or tight a draw and you have to strip everything back down again and potentially wasting a tank of juice, that is not a problem for the SteamShell, you can swap and change as much as you like with no waste or mess.
The Flavour and Performance
This is an Atmizoo product, and one thing they always nail is the taste. There is a reason they are my favourite tank maker; I love flavour and these guys can deliver it by the bucket load. The SteamShell is capable of pulling all the flavour from your favourite juices and can handle complex flavour blends effortlessly, picking up every subtle nuance. For MTL, it really doesn’t get much better. But DTL vapers aren’t getting forgotten here, it is just as happy pumping out clouds of bold juicy loveliness. It really is one bridge to rule them all, and I can’t imagine there will be anyone who isn’t completely happy with the quality of vape this gives. The fact it can do all this with very little fiddling around makes it an obvious choice for fans of Boro devices. It is incredibly forgiving and ultimately very satisfying.
One area that is a weak spot for Boro tanks and bridges is leaking and condensation, but I am pleased to report that I have had no leaks, even after my overly complicated failed wicking experiments. Due to the enclosed nature of these types of mods, condensation is normally more of an issue but has been very minimal in my current set up. After a hard day's vaping, there has only been a slight dampness rather than full on dripage that I have experienced with other combinations.
Final Thoughts
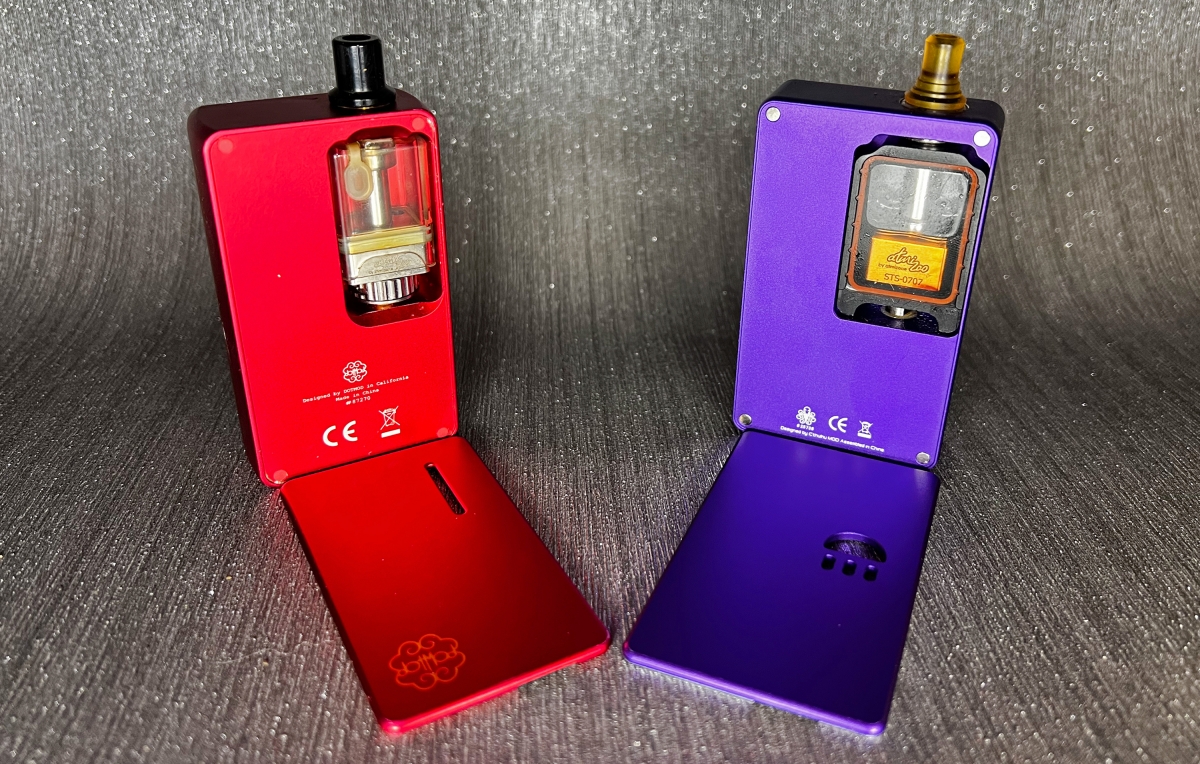
From the earliest days of Atmizoo, they have been constantly improving, always perfecting, and ever striving for the perfect vape. You can literally trace a line from their first tanks and see the evolution that has resulted in the latest products. The Tripod2 is my favourite “regular” tank, and it shares a lot of common ground with the SteamShell, mostly the signature flavour they are both capable of producing. Unlike so many of my old favourites, I still bring my older Atmizoo tanks out of the vape draw to use and they all more than capable of delivering a top notch vape. I still regularly use my DotShell in my Dotmod as I love the combination, and the SteamShell is just a natural progression (I have to admit here that I never had an original VapeShell, it is one of the few Atmizoo products that I haven’t owned, but this is only because I wasn’t into Boro compatible kits at the time). Paired up with my Cthulhu AIO, it just gives me everything I loved about the Dot Mod/Shell combo and then more…more options, more flavour, more buildability, and more free time as I’m not always trying to build better. I just can’t see how Atmizoo can take this to another level, how can you improve on perfection?
If you fancy giving the SteamShell out for a go, you can pick up either the Deluxe kit or the Basic kit direct from Atmizoo. The Deluxe retails at €78.12, and the Basic kit will set you back just €55.80. Extra pin and tube sets will cost €13.64 and €19.22 respectively.
Pros
- Easy to build
- So many airflow options
- User friendly
- Insane flavour
- Great for MTL or DTL
- Options for different budgets
- Great presentation
- Wonderful fit and finish
- Independently designed and manufactured
- Beautiful design
- Full customer support and spares
- No leaks and minimal condensation
Cons
- Exotic builds are not best suited to the size of the deck
Score: 9.5/10 (I’d give it a full 10 but then I’d have nowhere to go if they somehow manage to top this!)
Michelle (Purplefowler)
Reviewer at POTVWhen her usual forum closed, Michelle found herself in a brave new world full of excitement that something fresh and new was happening. A few days later she somehow found herself on the moderating team and is still not really sure how that happened. Even stranger, she slowly worked her way up to admin and now helps behind the scenes, liasing with vendors and coordinating social media but she can still be found making smutty comments on the forum. If all that wasn't enough, she also is a proud member of the Potv review team specialising in E-liquid reviews for the discerning vaper.
Join the discussion
Hellvape Fat Rabbit Solo 2 RTA
Hellvape are flying the flag for the rebuildable vapers with their latest addition, the Hellvape Fat Rabbit Solo 2 RTA
Hellvape Dead Rabbit MTL 2 RTA
Hellvape are still flying the flag for traditional rebuildable vapers, and Antony got his hands on the latest Dead Rabbit MTL 2 RTA
Hellvape Dead Rabbit 3 RTA 2024 Edition
Hellvape are flying the flag for rebuildable vape gear with the newly released Dead Rabbit 3 RTA 2024 Edition




-listing400.jpg)

