Supplied by UK Aspire Vendor for review.
I was fortunate enough to get my hands on a pre-production sample of Aspire’s latest MTL RTA, the Neeko. There’s a fair bit to this RTA that should satisfy most users, I have spent plenty of time fiddling around with the options and here’s my thoughts…….
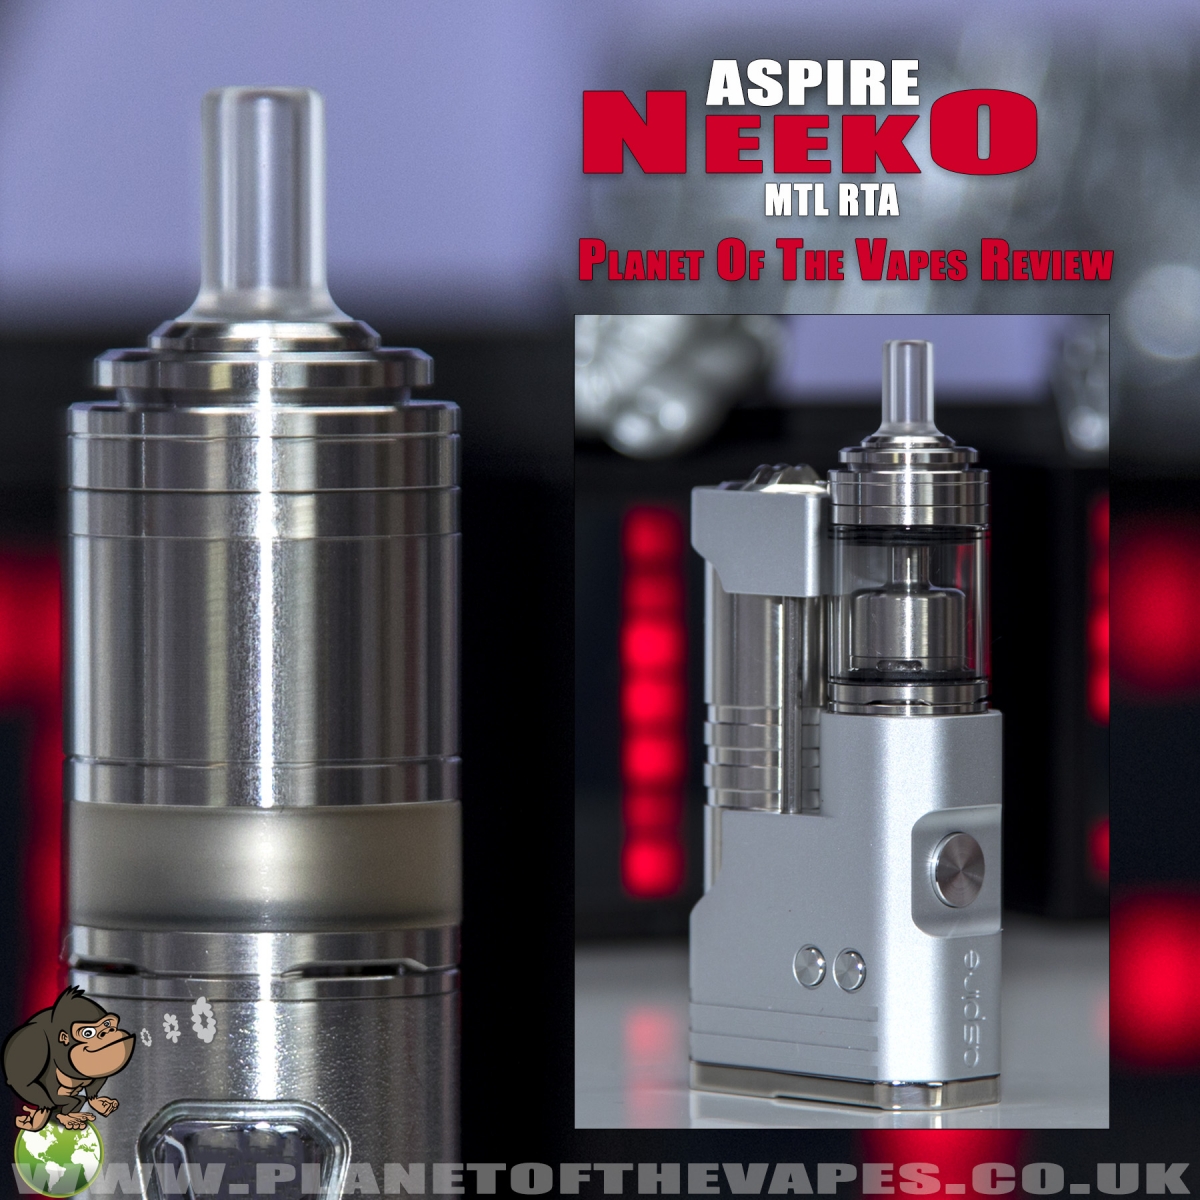
Tech Specs
- Size: 22 x 45mm
- Weight: 148g
- Capacity: 2 ml
- Material: Stainless Steel/PSU
- Filling: Top fill
Unboxing
I’m not quite sure what the retail packaging will be like so I can only discuss the SAMPLE packaging, but from what I have seen on Aspire’s website, it looks like you will get the same bundle.
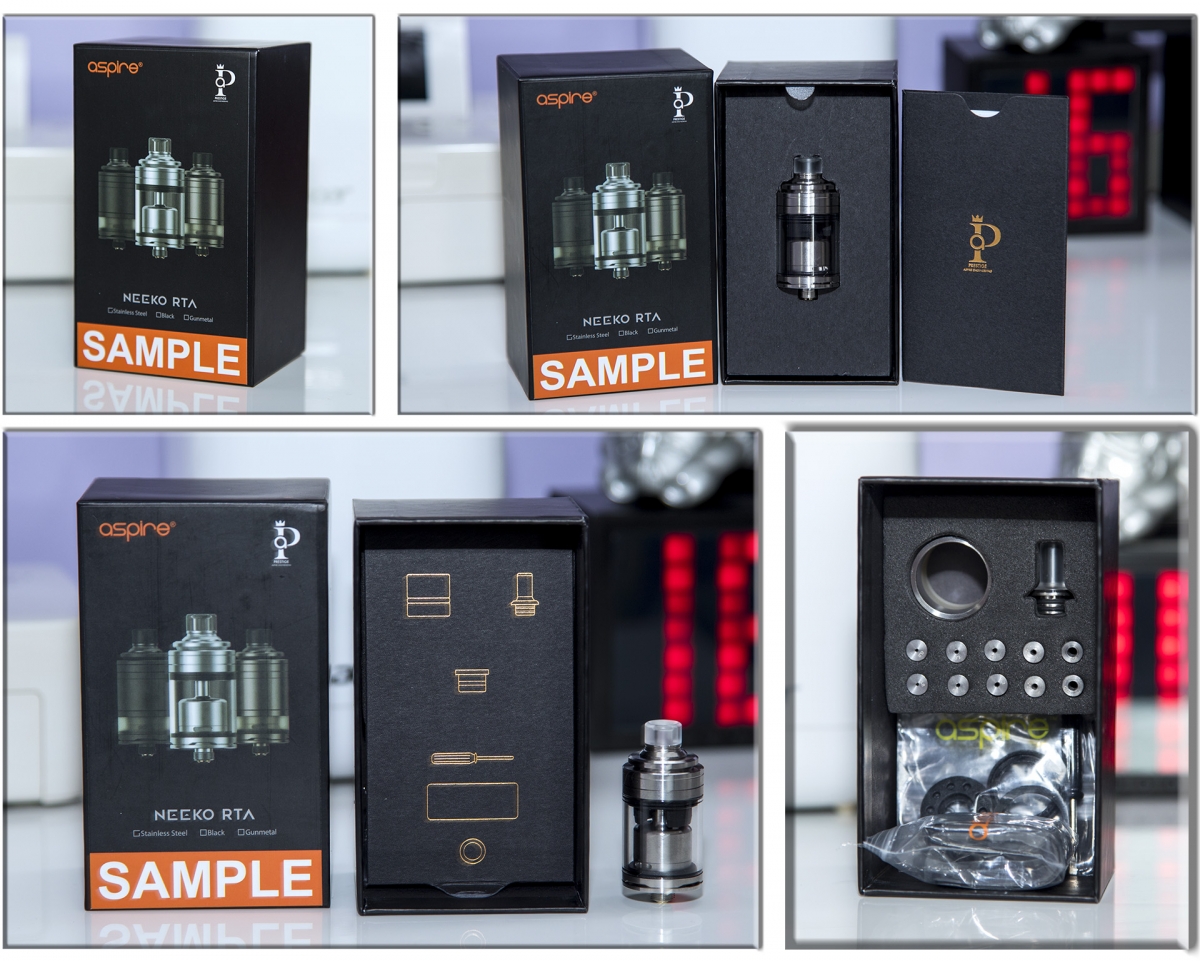
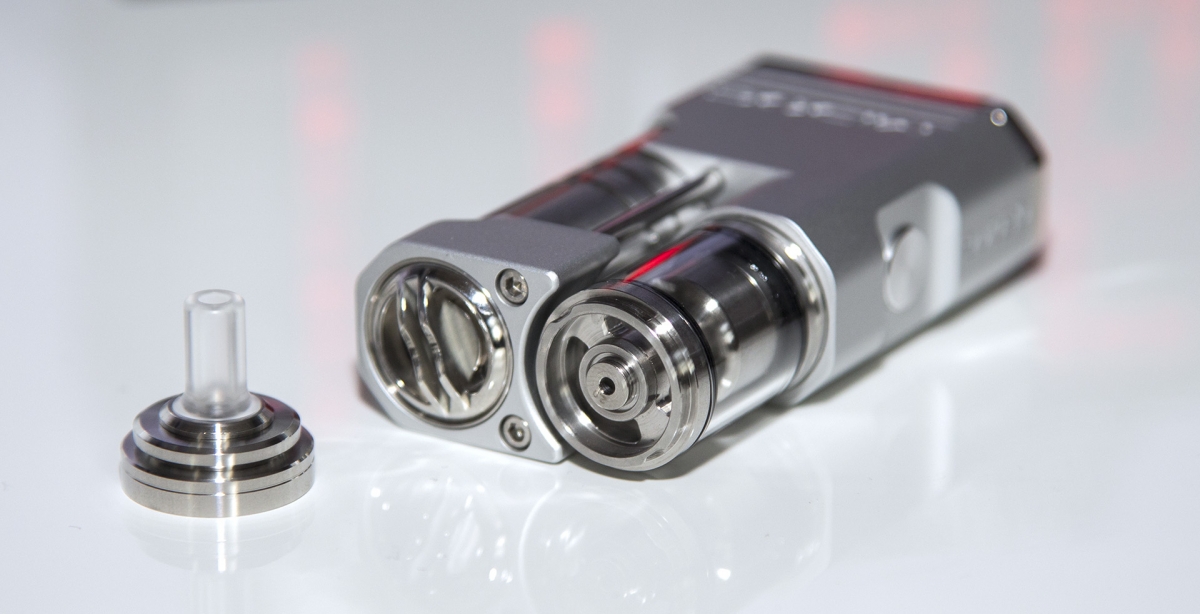
As you can see in the photo there’s a fair bit thrown into this kit, I really enjoy tinkering with MTL tanks and I could tell I was going to have plenty of fun with this package.
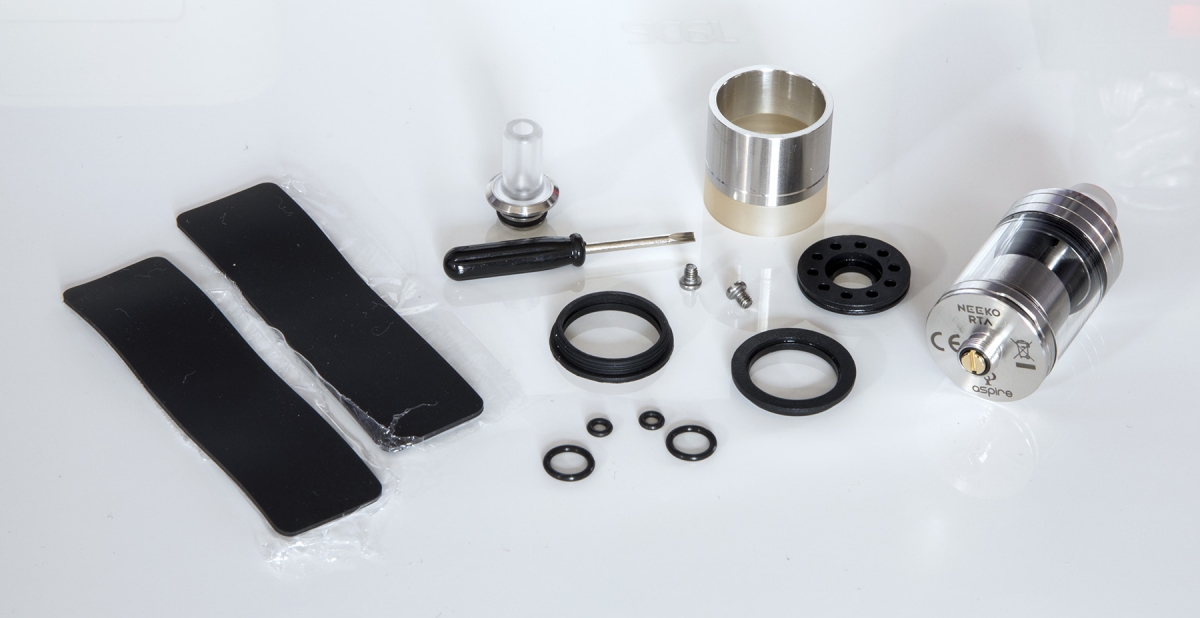
What's in the box
- 1x Neeko RTA Tank (2 ml)
- 1x Spare Drip Tip
- 1x Spare Tank Tube (2 ml)
- 12x AFC Pins (2x 0.8mm, 2x 1.0mm, 2x 1.2mm, 2x 1.5mm, 2x 2.5mm,
- 2x 2.0mm (preinstalled)
- 1x Screwdriver
- 2x Spare Grub Screws
- 1x O-rings Pack
- 2x Rubber Bark
- 1x User Manual
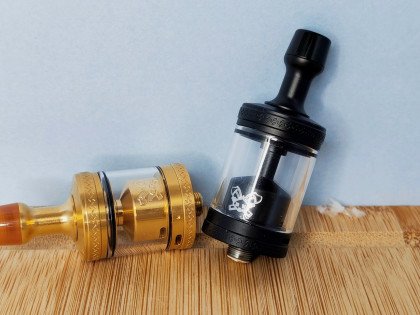
I love how there are external options with the glass or metal tube and two very different drip-tips. The ‘Rubber Bark’ had me a little confused but it quickly made sense, they are simply to help you grip the RTA when disassembling. I have used rubber bands in the past for stubborn tanks but this is the first time I have seen any bundled in an RTA kit, a nice touch.
The fascinating thing was the 12 airflow inserts, two of them are already in the tank, there are two of each size (2x 0.8mm, 2x 1.0mm, 2x 1.2mm, 2x 1.5mm, 2 x 2.0mm and 2x 2.5mm), one goes into the build deck, and the other goes into the top fill section.
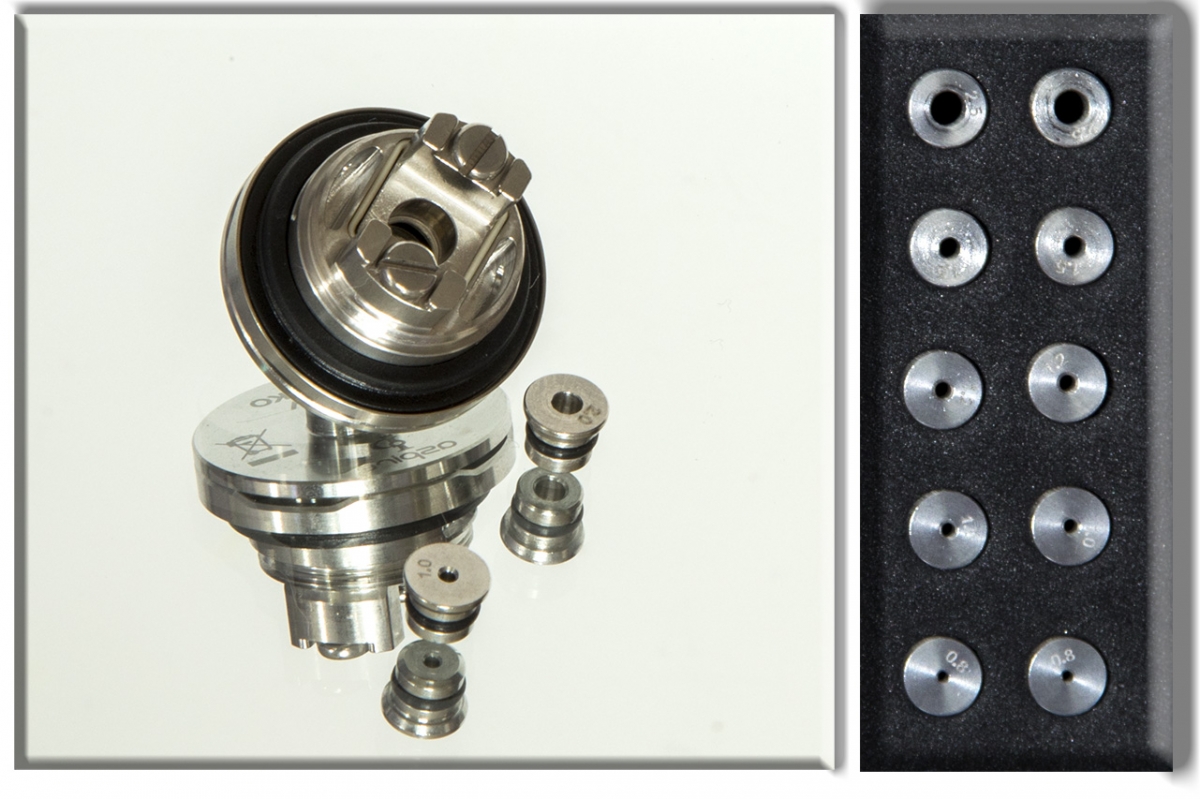 This gives you a huge variation in airflow combinations, Aspire claim forty nine variations in fact, but there could be a few more if you include combinations without any pin in the base or top. I will let you puzzle that one out though.
First impressions
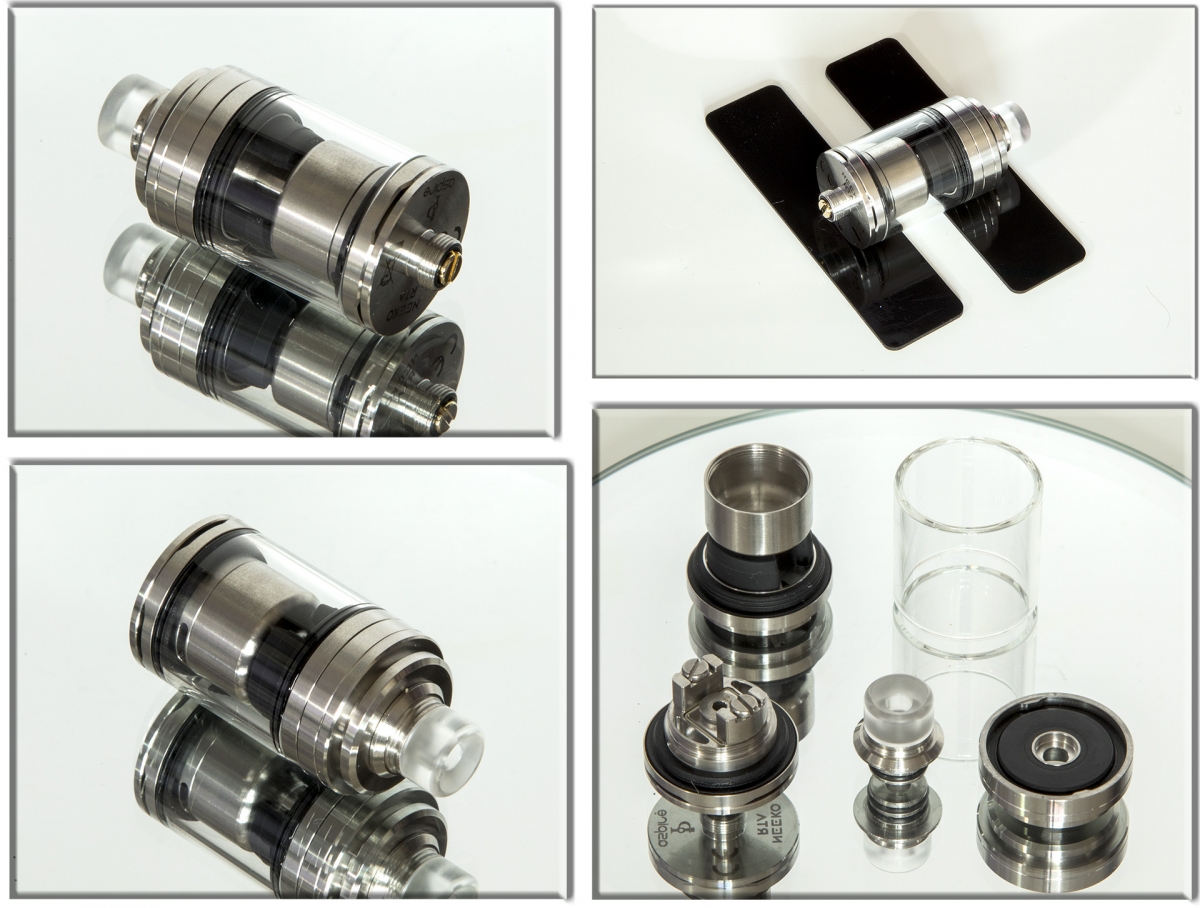
The tank is pretty easy to strip down. I did try the rubber bark and it worked a treat, but since the first time I haven’t required them as the threads are pretty good and despite the narrow base, I still found it easy to get a grip of to screw/unscrew it all.
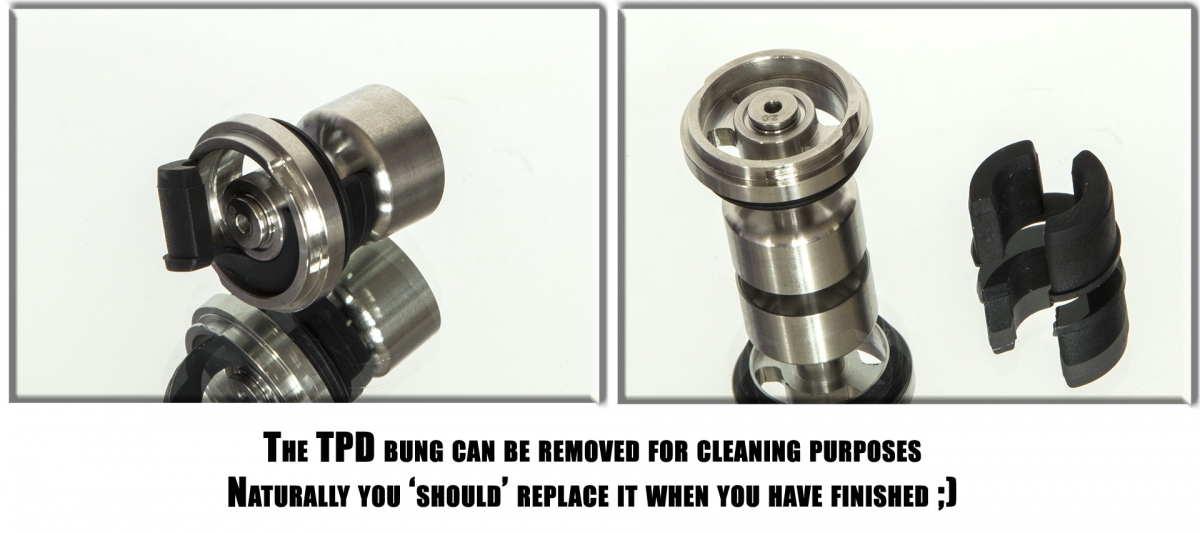
The TPD version will come with a restriction silicone bung to limit it to 2ml, you might notice I ‘forgot’ to replace it for the rest of the review – silly me!
The top cap is a nice quarter-turn design and stays in place well, and I’ve never had it unscrew by accident while in use or when stowed in my bag/pocket.
Build
Before you throw a coil into the deck, you need to decide which airflow pin to put in the base as you cannot change it once built. This is a bit of a sod at first as you have to rebuild if you want to change the bottom airflow. You can change the top one though. I decided to lob in a 1mm to start off with.
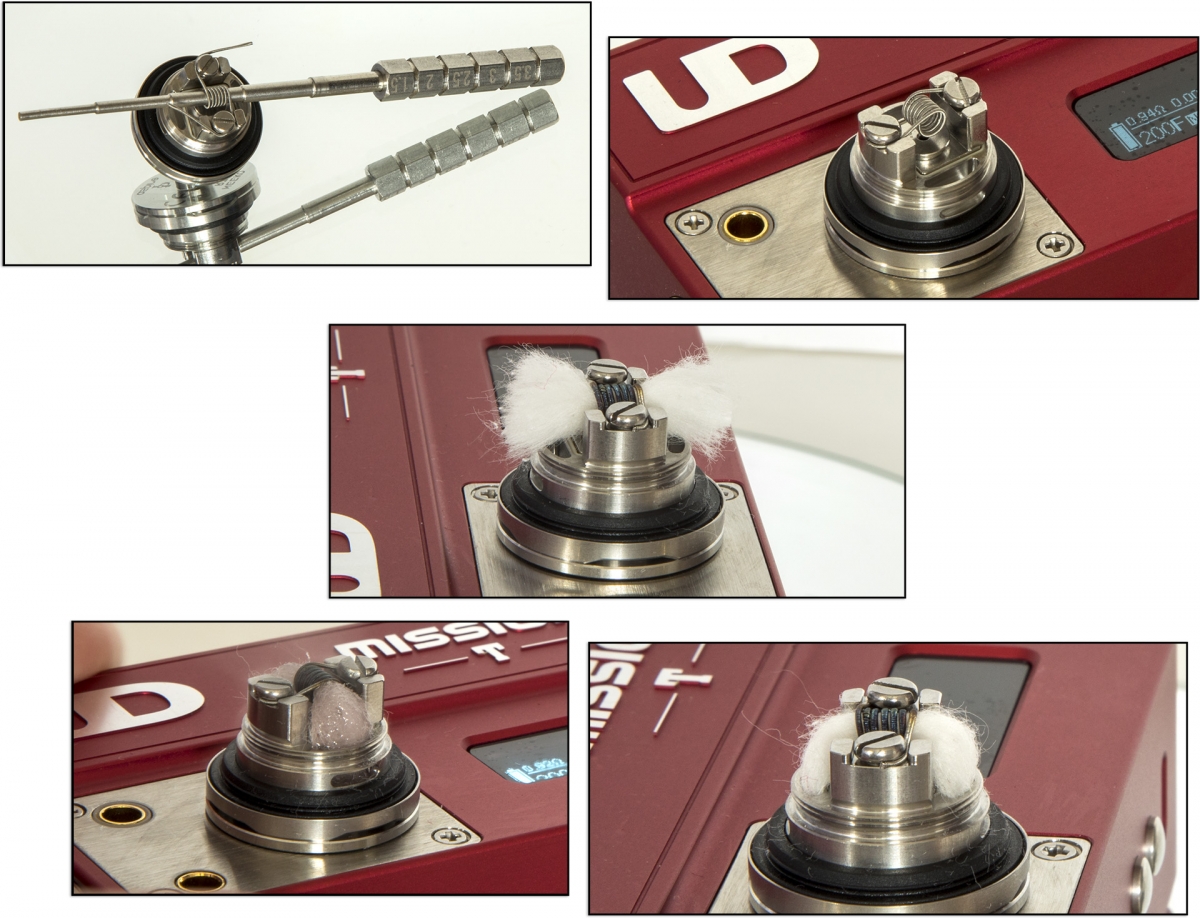
I have tried several builds but I found it works best with a little 2.5mm inner diameter Fused Clapton coil, round wire didn’t quite work for me in this tank. The coil height is quite forgiving and can also be fine-tuned to suit your taste, after a couple of builds I preferred it a little bit raised.
I’m not a fan of screw-clamp decks but the tolerances were just right for fitting a Clapton coil and I didn’t have any issues with it distorting the coil when tightening it up. Wicking made common sense, you can just about get away without thinning the cotton with Muji style cotton, but with thicker cotton I found trimming a little from the top and a 45 degree angle helped. The main thing is not to stuff the cotton in too tightly.
Performance
It is going to be a bit tricky to rate the performance as we all prefer our own style of airflow and warmth but I tend to prefer a tight-ish ciggie like draw and flavour over throat hit. For my setup, I started off with a 1mm base airflow insert and a 0.8mm in the top and I opted for the skinny drip-tip. My build came out at 1.1Ω, it wasn’t a bad guess for the tightness but something wasn’t quite right for me as the airflow wasn’t very smooth, but popping the 1mm insert into the top improved it and eventually I found my happy place was a 0.8mm in the base and a 1.2mm in the top. Making the top airflow larger made it smoother for me, the base one was the main restriction.
The flavour was spot on and the wicking kept up perfectly, I’ve never had a hint of a dry hit from the Neeko in all of my setups. As long as you get the tails into the juice port just right, then you should have no issues (too tight = dry hits – too loose = flooding/leaking).
Conclusion
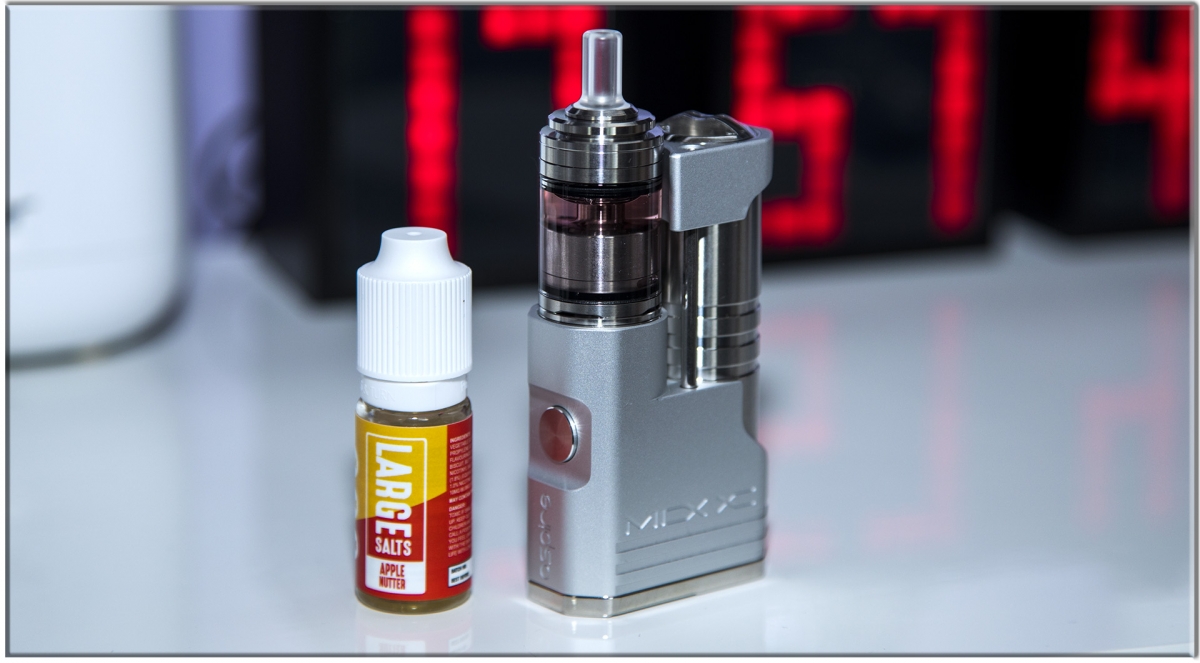
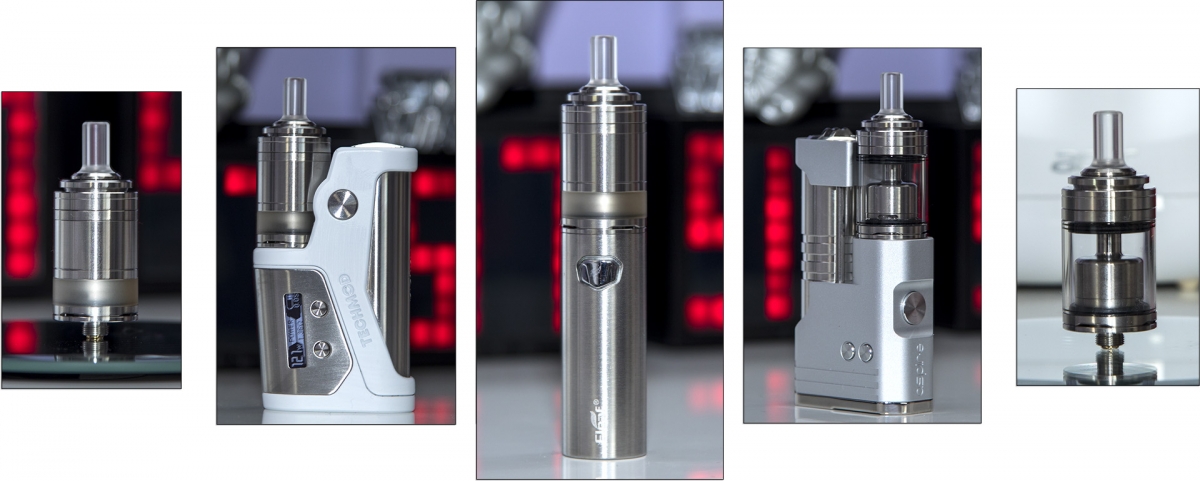
I didn’t find the Neeko all that easy to find my desired setup but that is all part of the fun with RTAs like this, playing around and tweaking until you find your perfect setup. Once you find your happy place then it’s rare that you need to go back to playing around. The only changes I made after was the looks by swapping the tank section to the metal sleeve, both configurations look great to me and keeps it looking different with various mods.
This RTA I would say is more aimed at experienced vapers and those who enjoy tweaking and fine tuning their vape, I would imagine new vapers would find it too frustrating but the results are worth the effort.
At a push the Neeko also works pretty well as a RDL tank. I tried a 2mm base insert and none in the top cap, and the restriction was on the tighter end of RDL but still enjoyable. The flavour is superb in this configuration.
Pros
- A very generous bundle
- Abundance of airflow options
- Both tank sections look great and adds variety
- Great flavour
- Easy filling with large ports
- A fine tuners delight
Cons
- Bottom airflow pin requires stripping the build
Final thoughts
The base airflow pin is my only real con on the Neeko, but once I found my desired setup it was never an issue again. I only tweak the top airflow pin occasionally but generally once you’ve found the right setup for you, then the Neeko becomes a superb MTL RTA (assuming you have the patience).
Score: 8.5/10
Si Davies
Reviewer at POTVMy background is Engineering and Professional Photography. Mostly from POTV users knowledge I learned so much about pretty much all styles of vaping and equipment, Cloud Chasing, Squonking, Mouth To Lung, Direct To Lung, Pods, Mechs, Rebuild-able tanks and atomisers etc, and have experience with many many devices and atomisers, it's become a hobby and enjoy trying out the latest gear. I like to think my reviews are plain speaking and informative without getting too technical, if I have to resort to reading the manual then I don't consider it user friendly!
Join the discussion
Hellvape Fat Rabbit Solo 2 RTA
Hellvape are flying the flag for the rebuildable vapers with their latest addition, the Hellvape Fat Rabbit Solo 2 RTA
Hellvape Dead Rabbit MTL 2 RTA
Hellvape are still flying the flag for traditional rebuildable vapers, and Antony got his hands on the latest Dead Rabbit MTL 2 RTA
Hellvape Dead Rabbit 3 RTA 2024 Edition
Hellvape are flying the flag for rebuildable vape gear with the newly released Dead Rabbit 3 RTA 2024 Edition


